A year ago I took a course in acoustics engineering. I wanted to be able to do my own “amateur” acoustic study so I could design the treatment that would allow me to get decent results for mixing and mastering in a room that hasn’t been designed for this in the first place. I have a project to build a proper studio in a few years but for now I have to live with a bedroom in a rental house.
I have briefly described what I did in the following pictures. I haven’t worked it through to the end because I will probably leave this house in 1 or 2 years but I have gone far enough to get very usable results with minimal investment. I highly recommend to those who want to step up their mixing game to learn about acoustics. I feel it is the most underrated thing among mixing engineers and it is hard to find reliable information online.
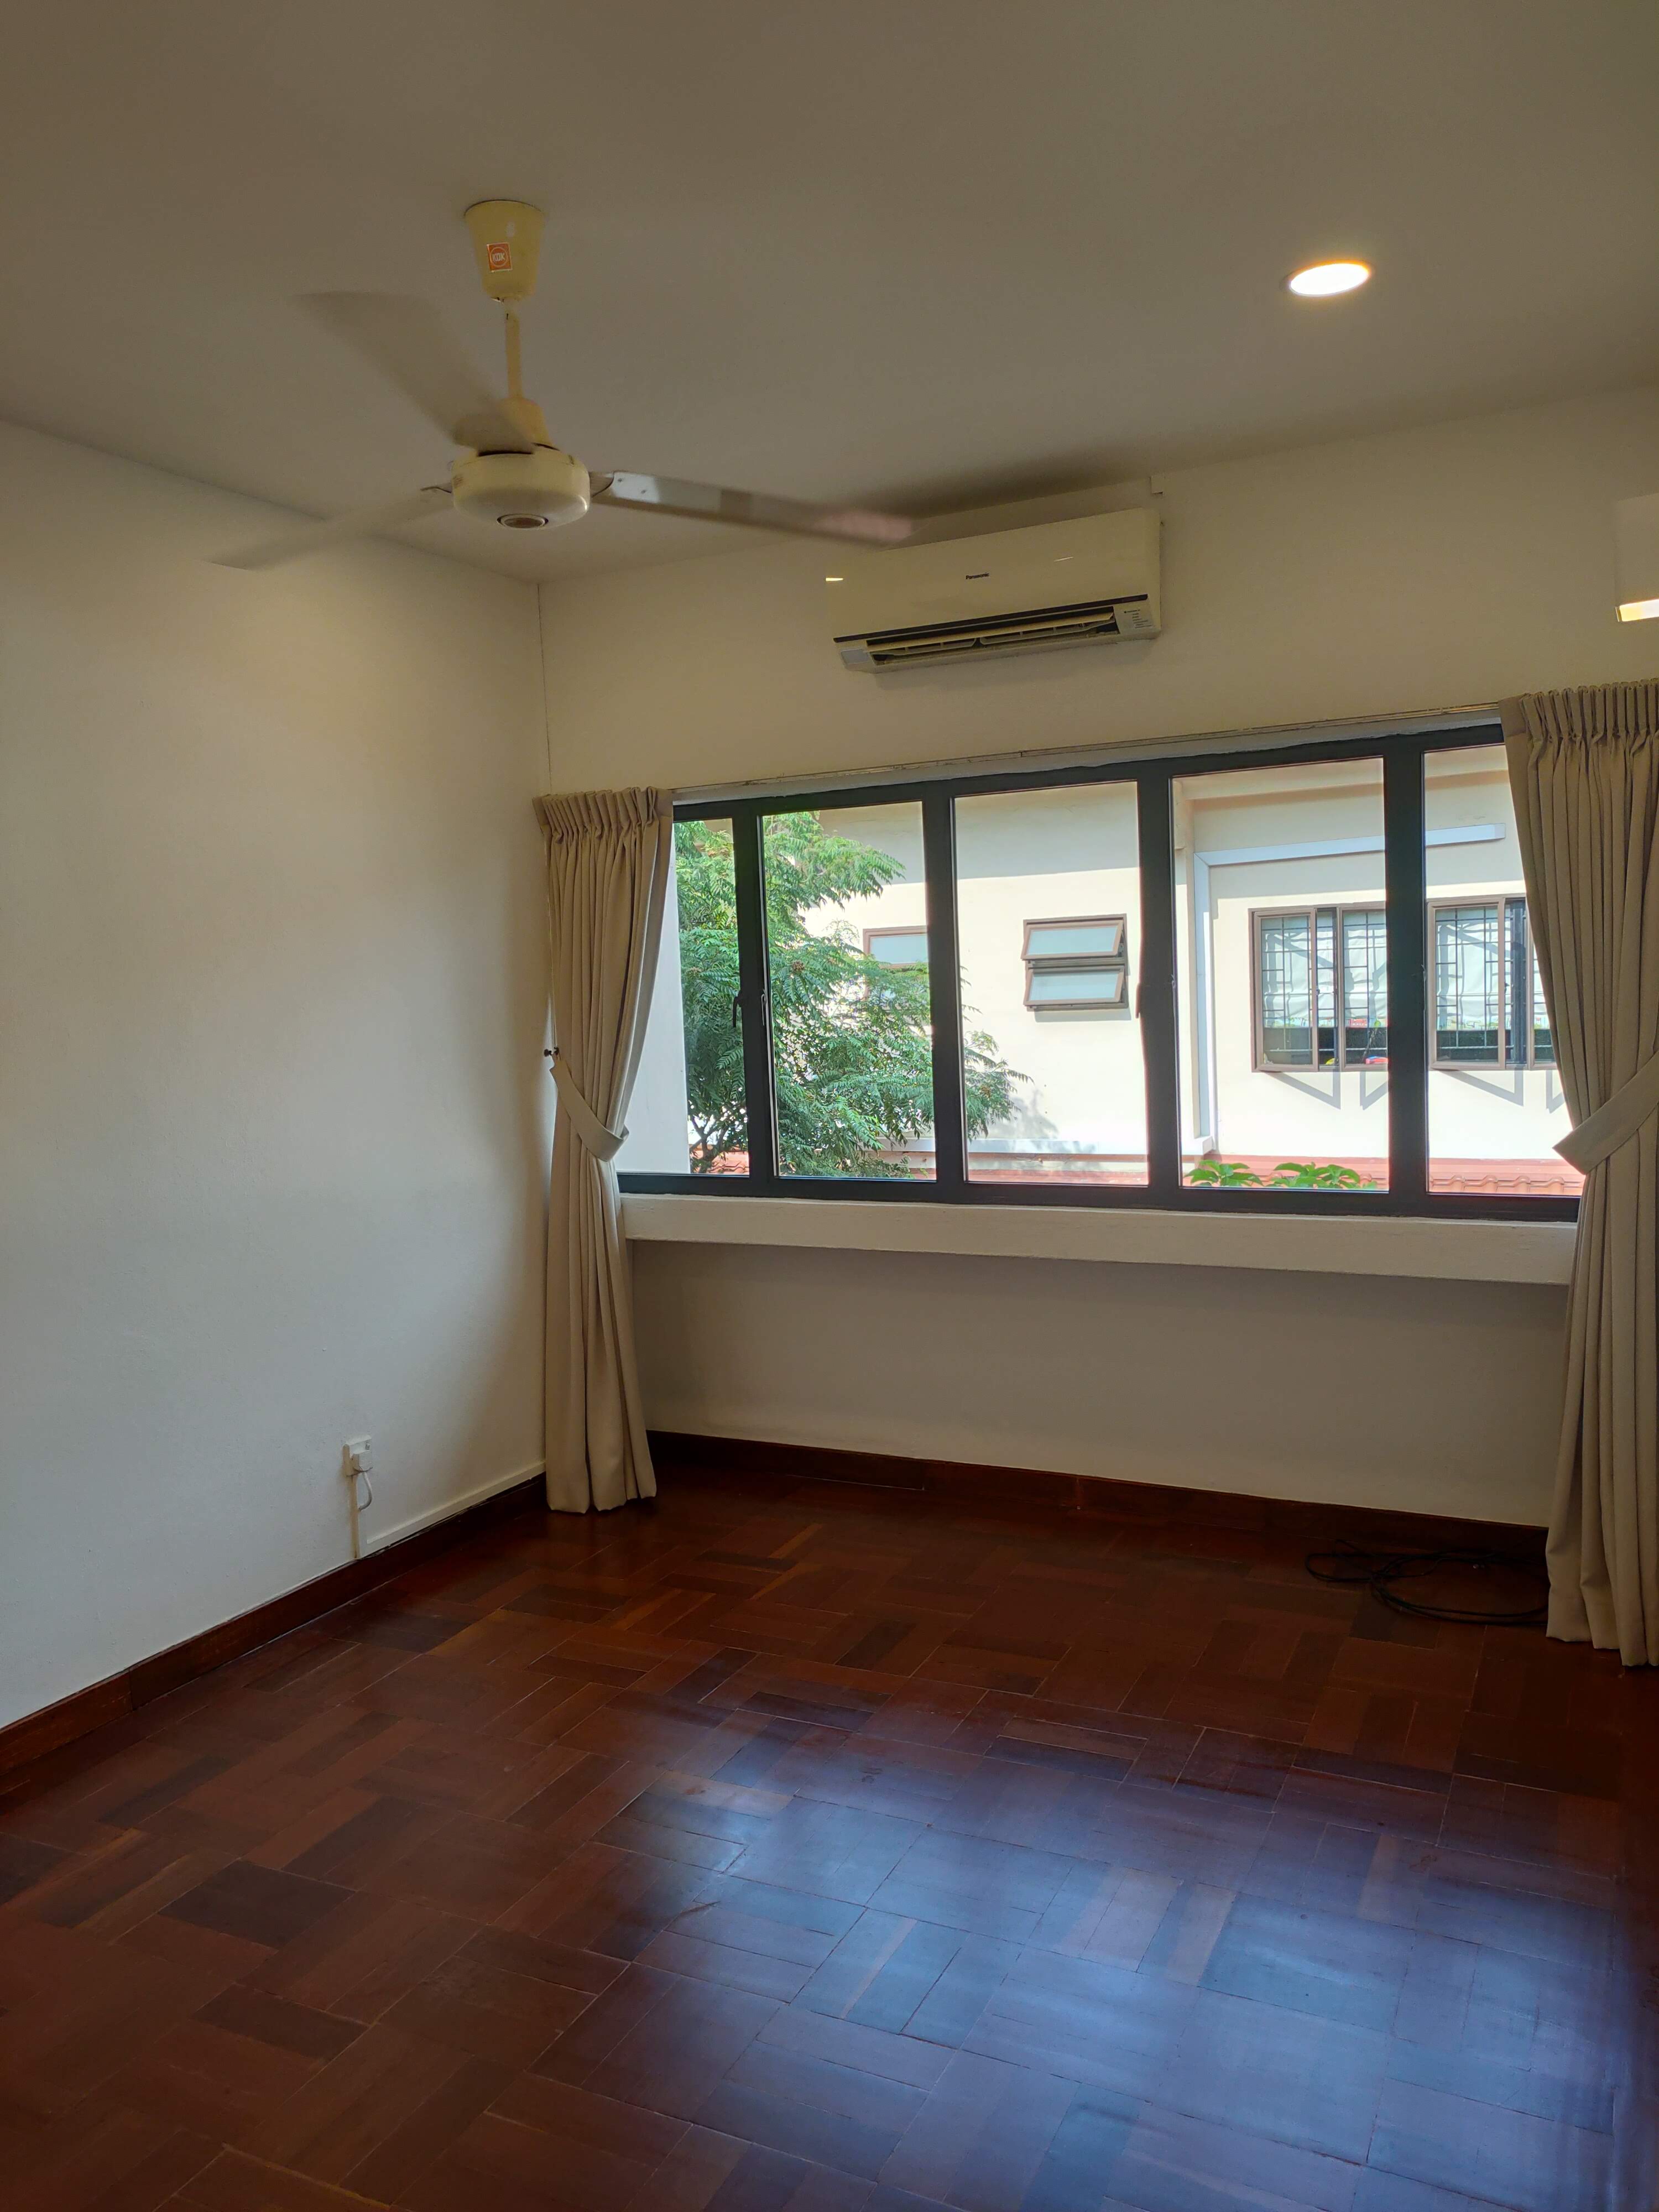
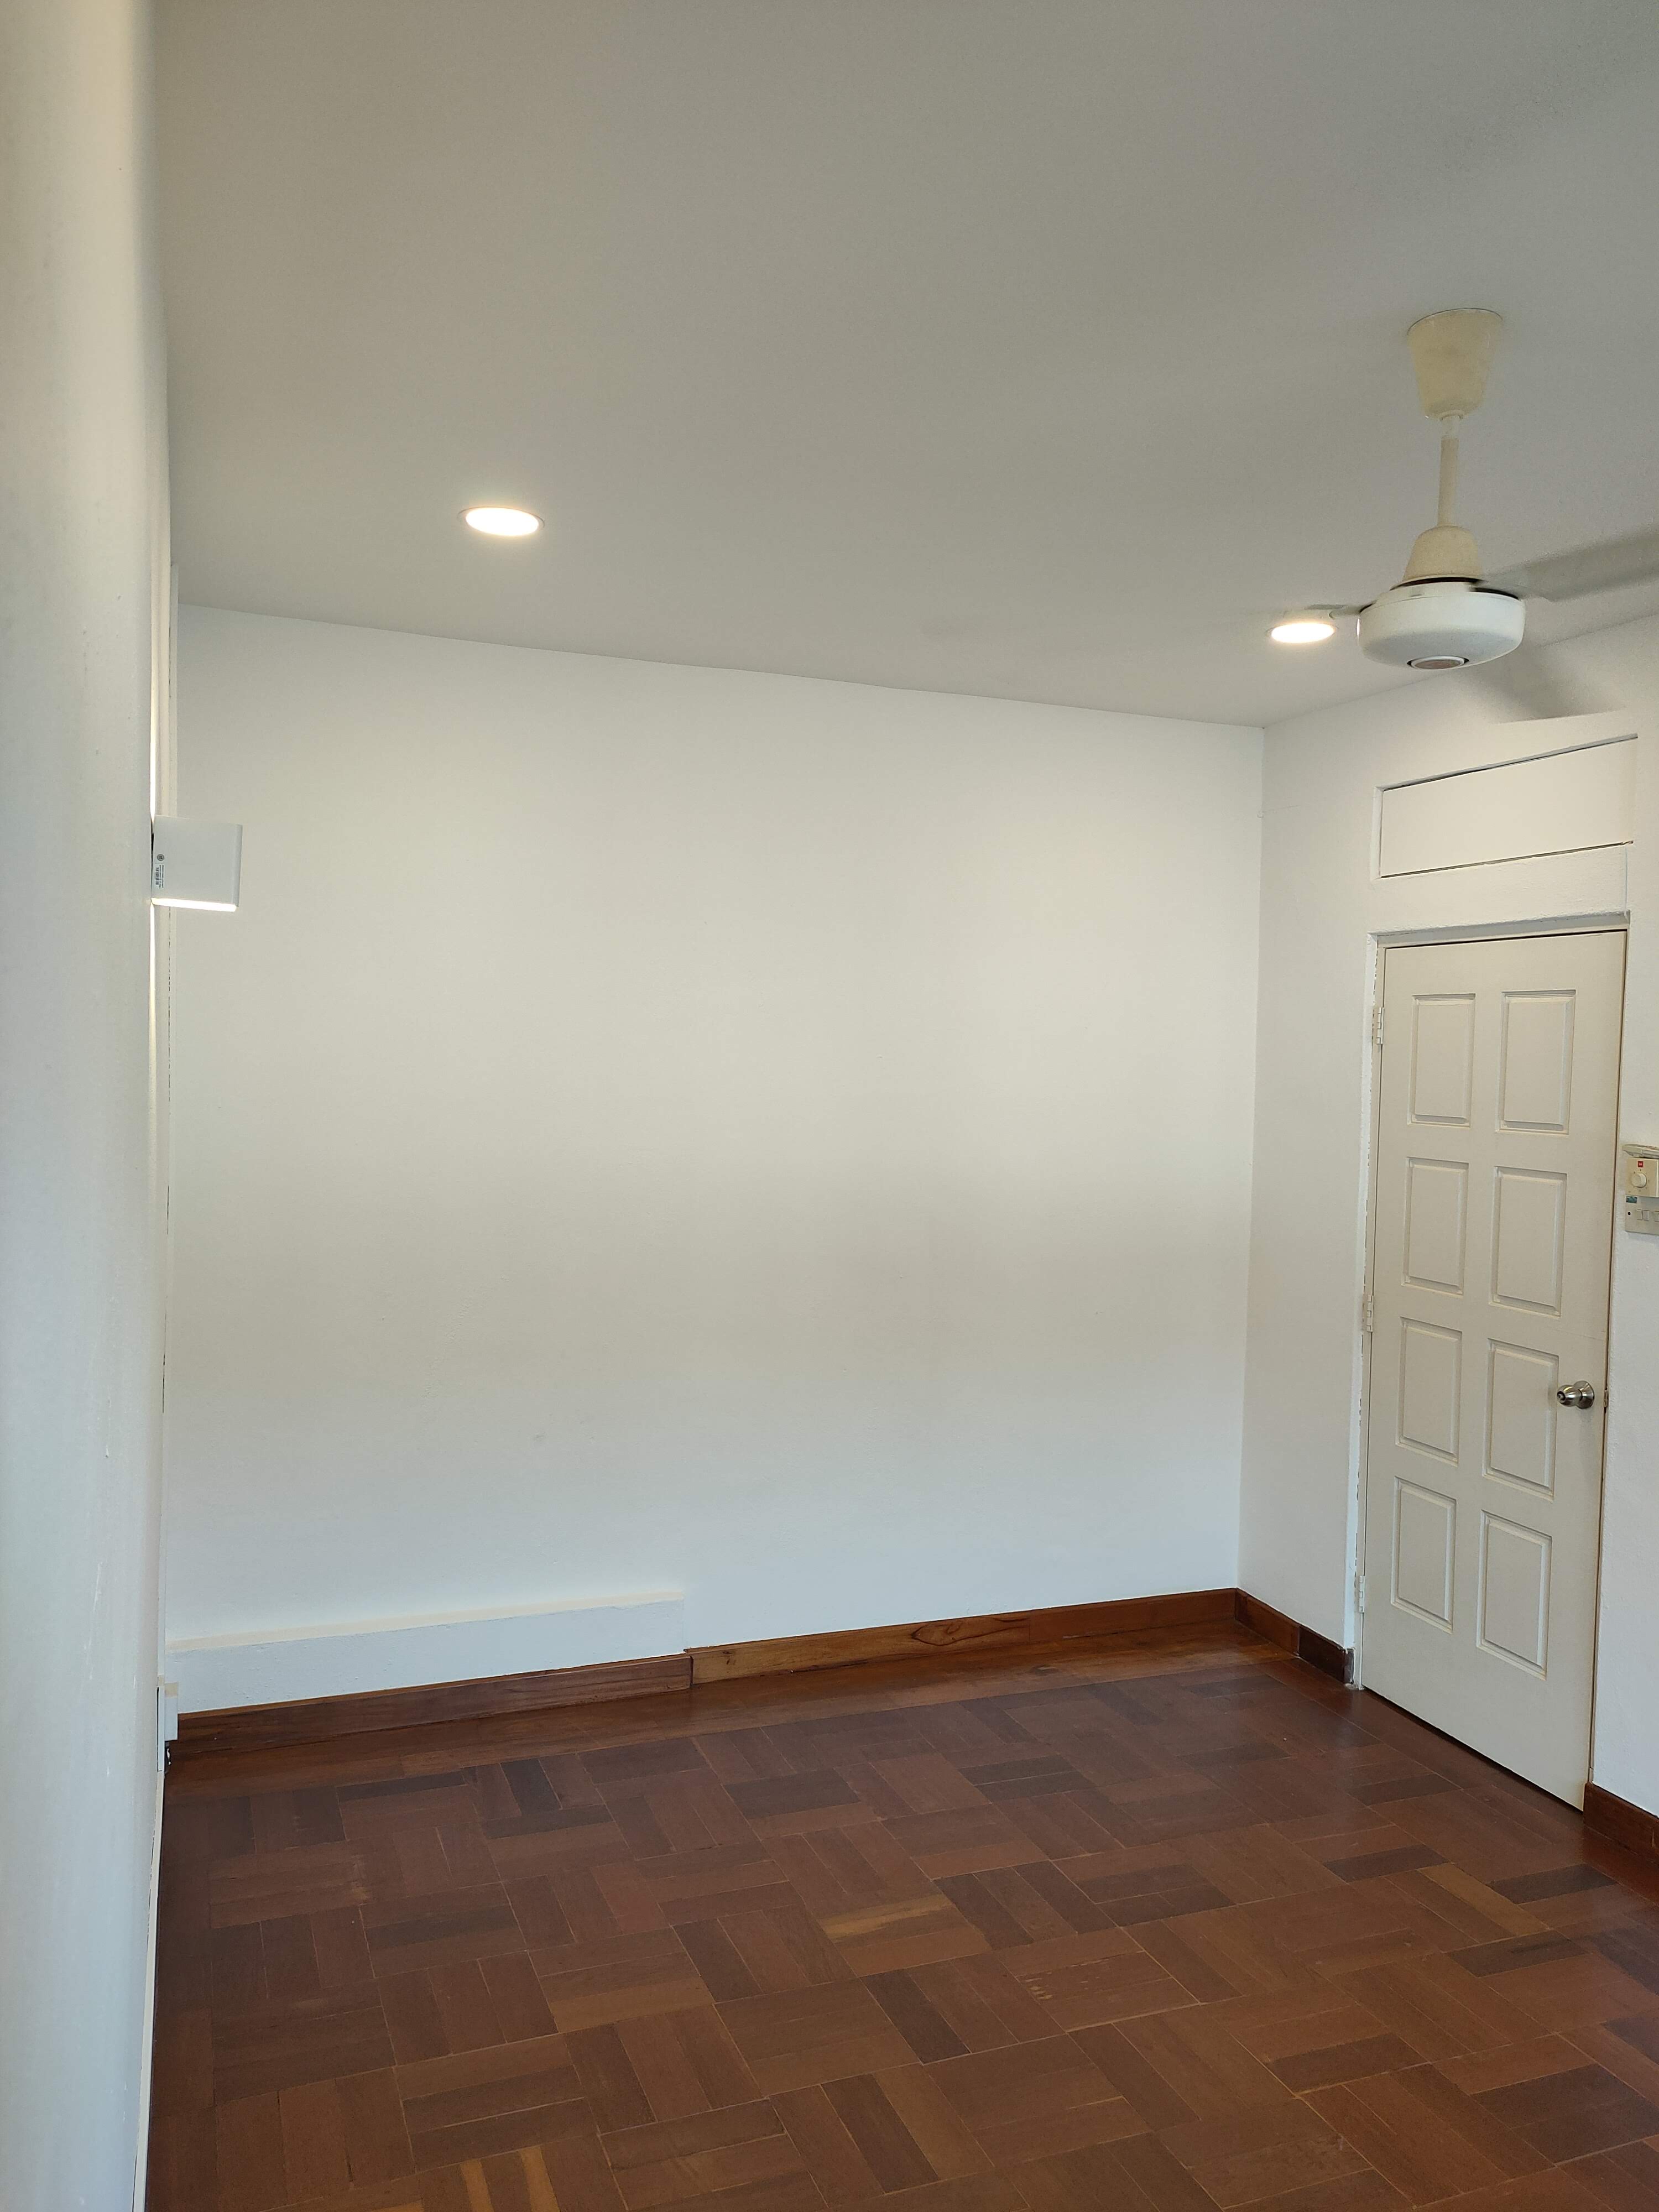
Empty room before moving in (4,4 x 3,15 x 2,8 m (14.5 x 10.5 x 9.2 ft)
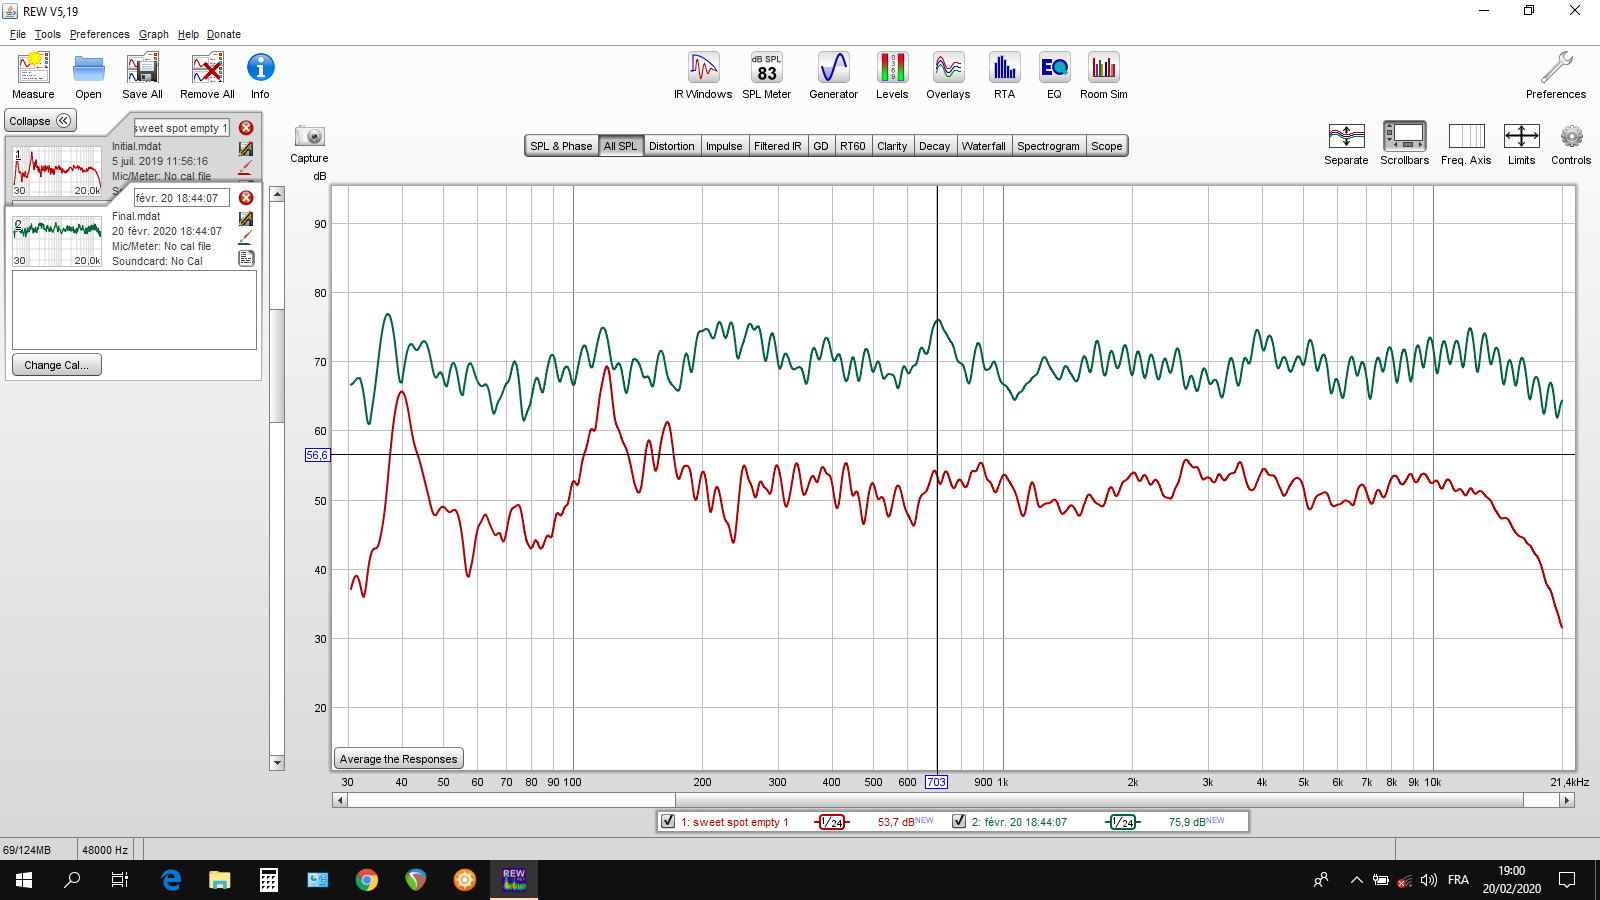
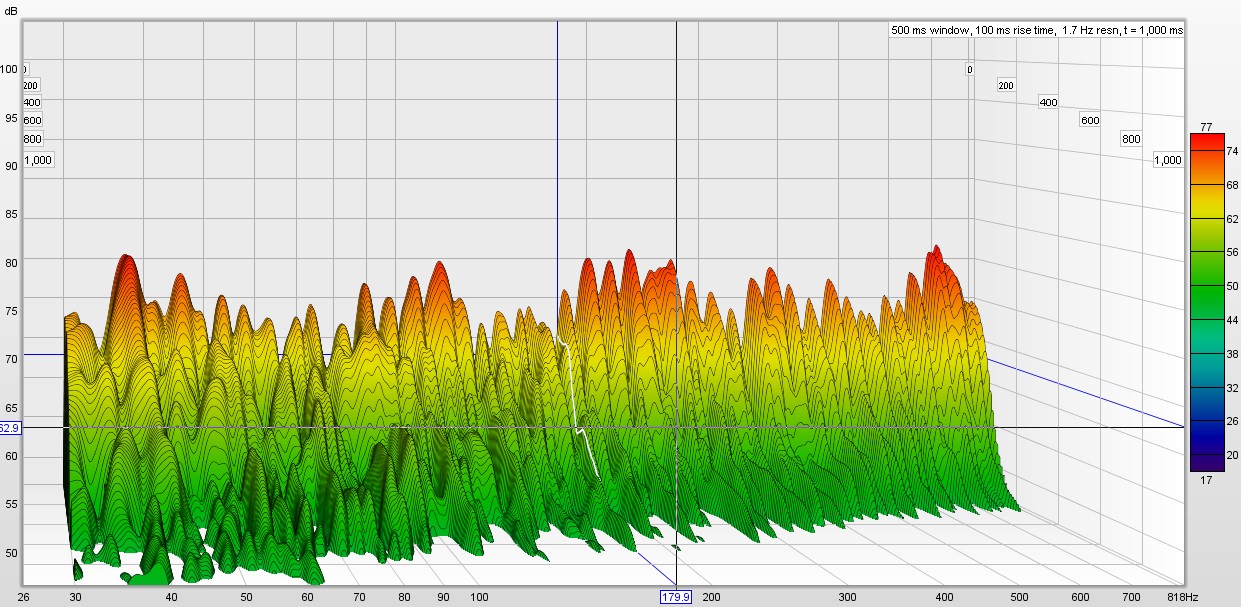
Initial frequency response measurement. The goal is to identify the best place to set the monitors and to find out what are the issues and what type of treatment will help to deal with them.
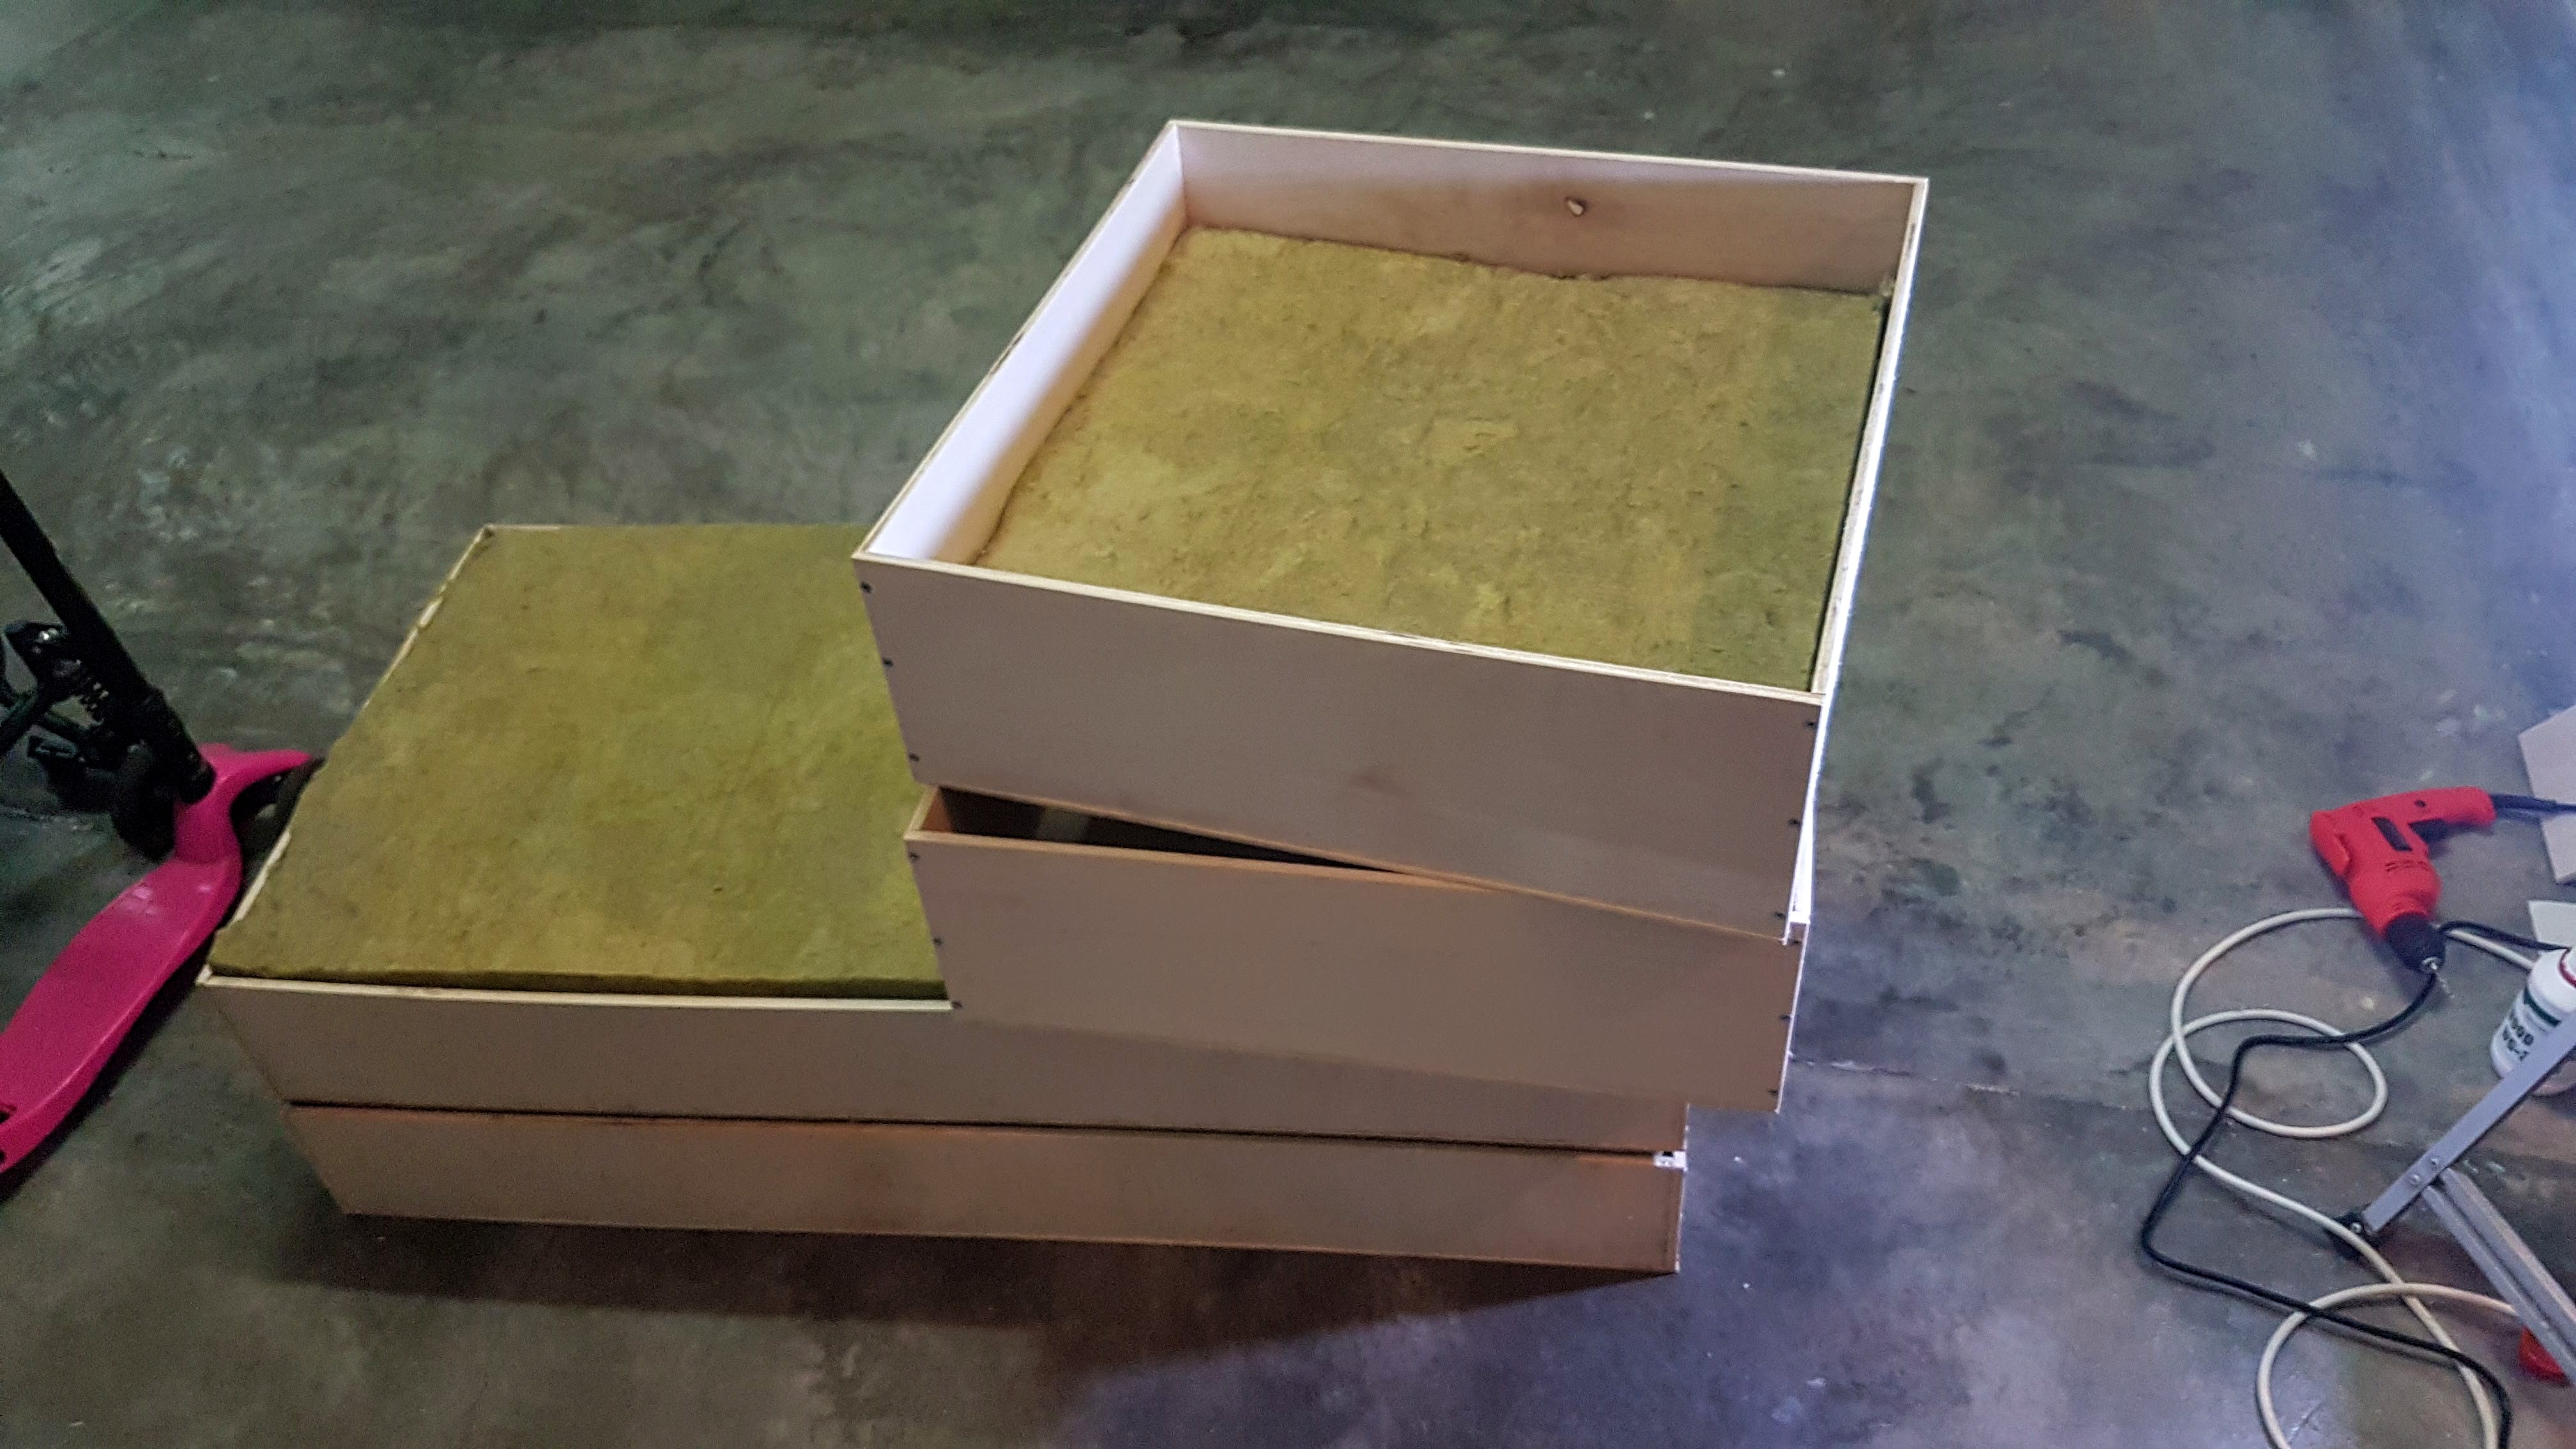
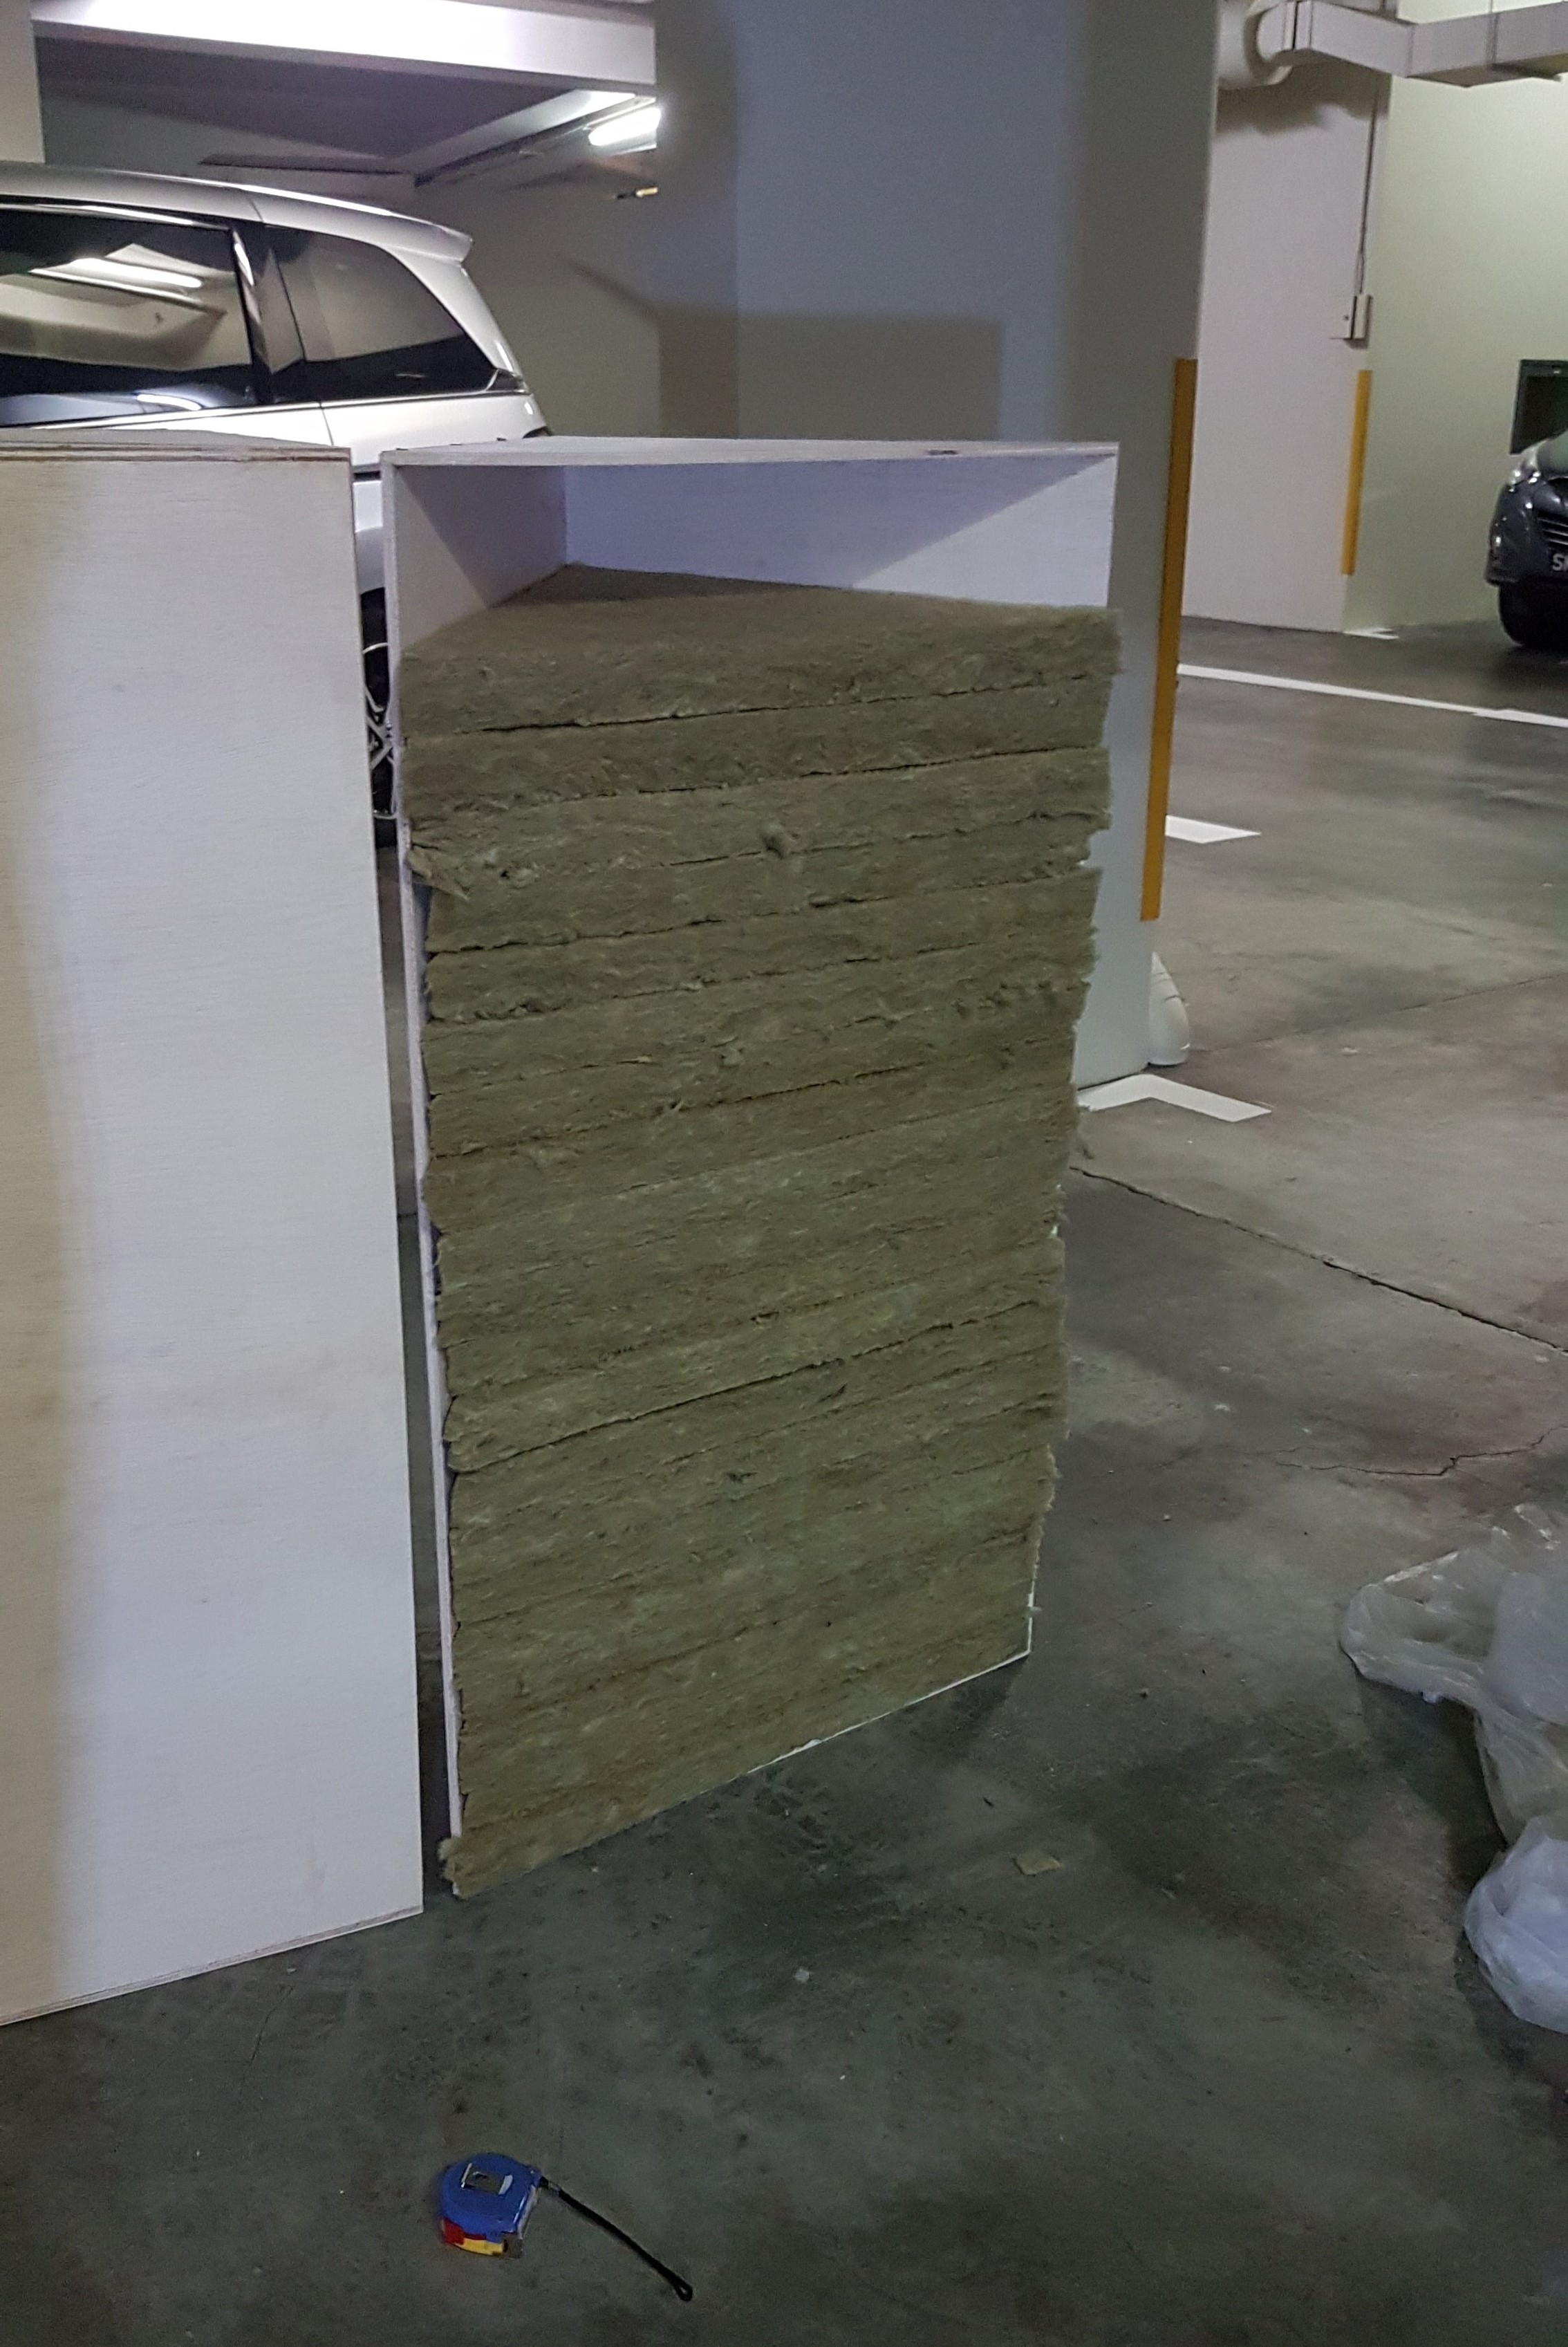
“Superchunk” style bass traps, 4 of them. Had to make them rather big (depth 40 cm / 15.7 inches). I inserted shelves to prevent the rockwool from caving in over time.
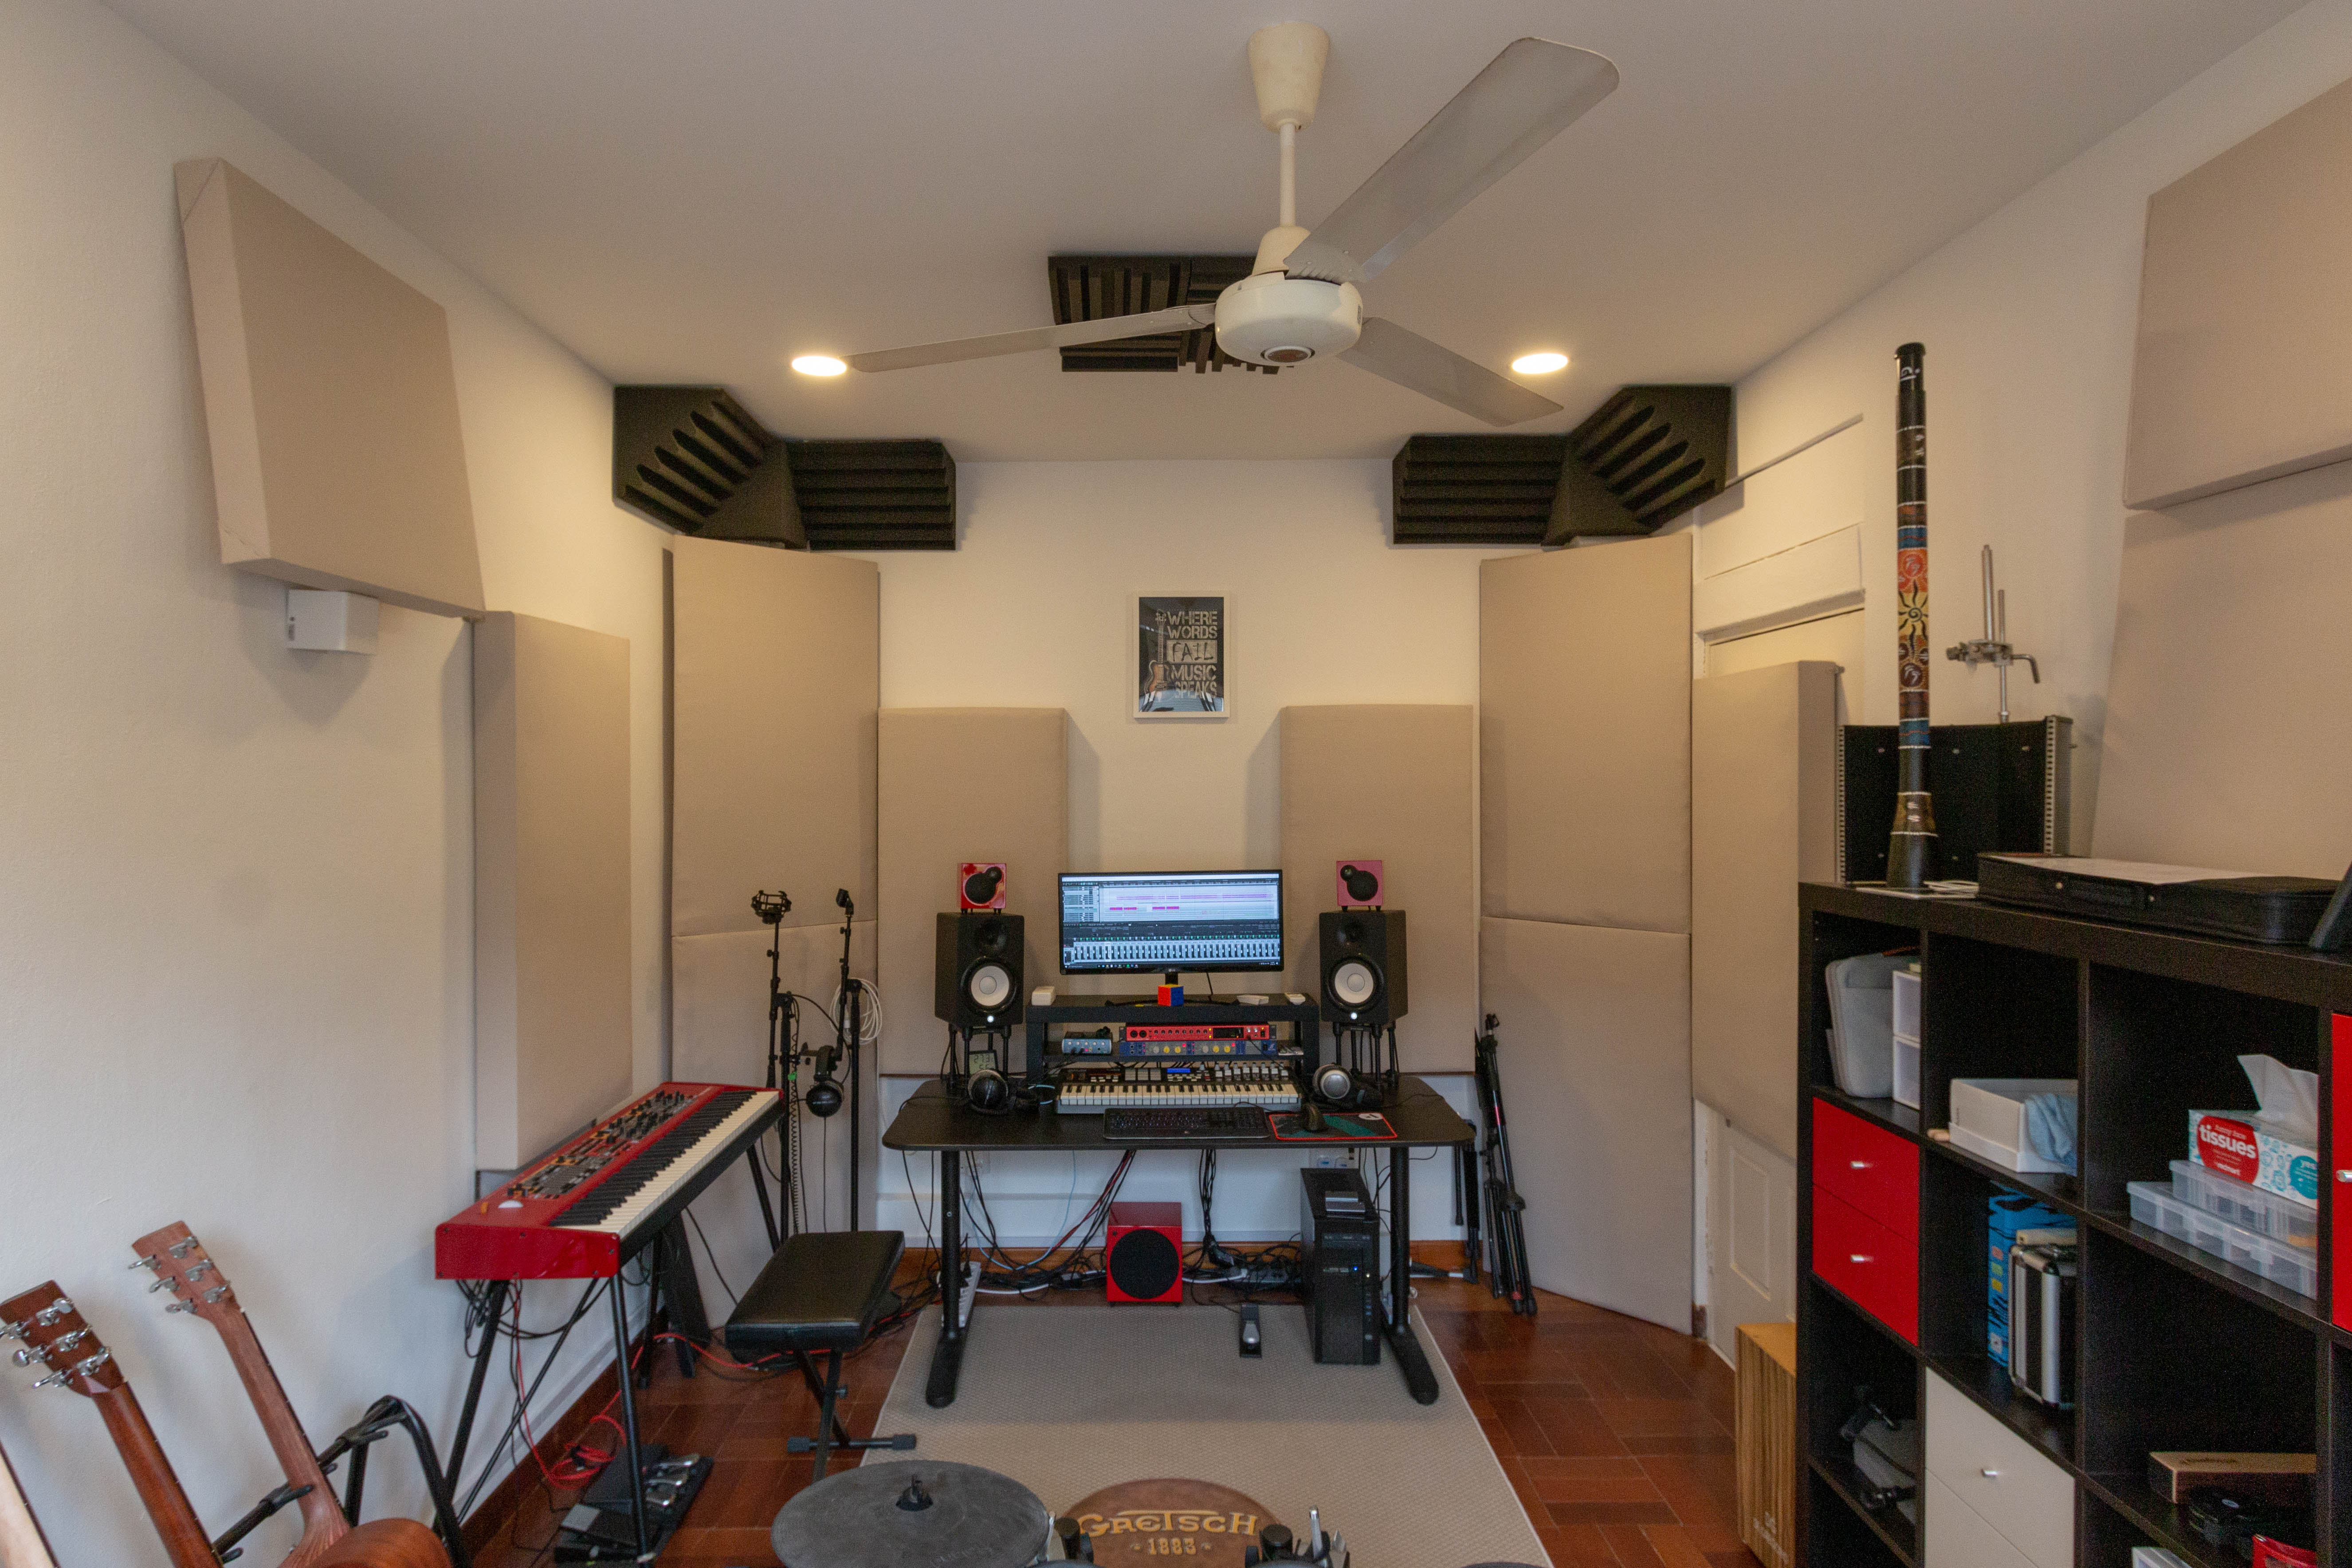
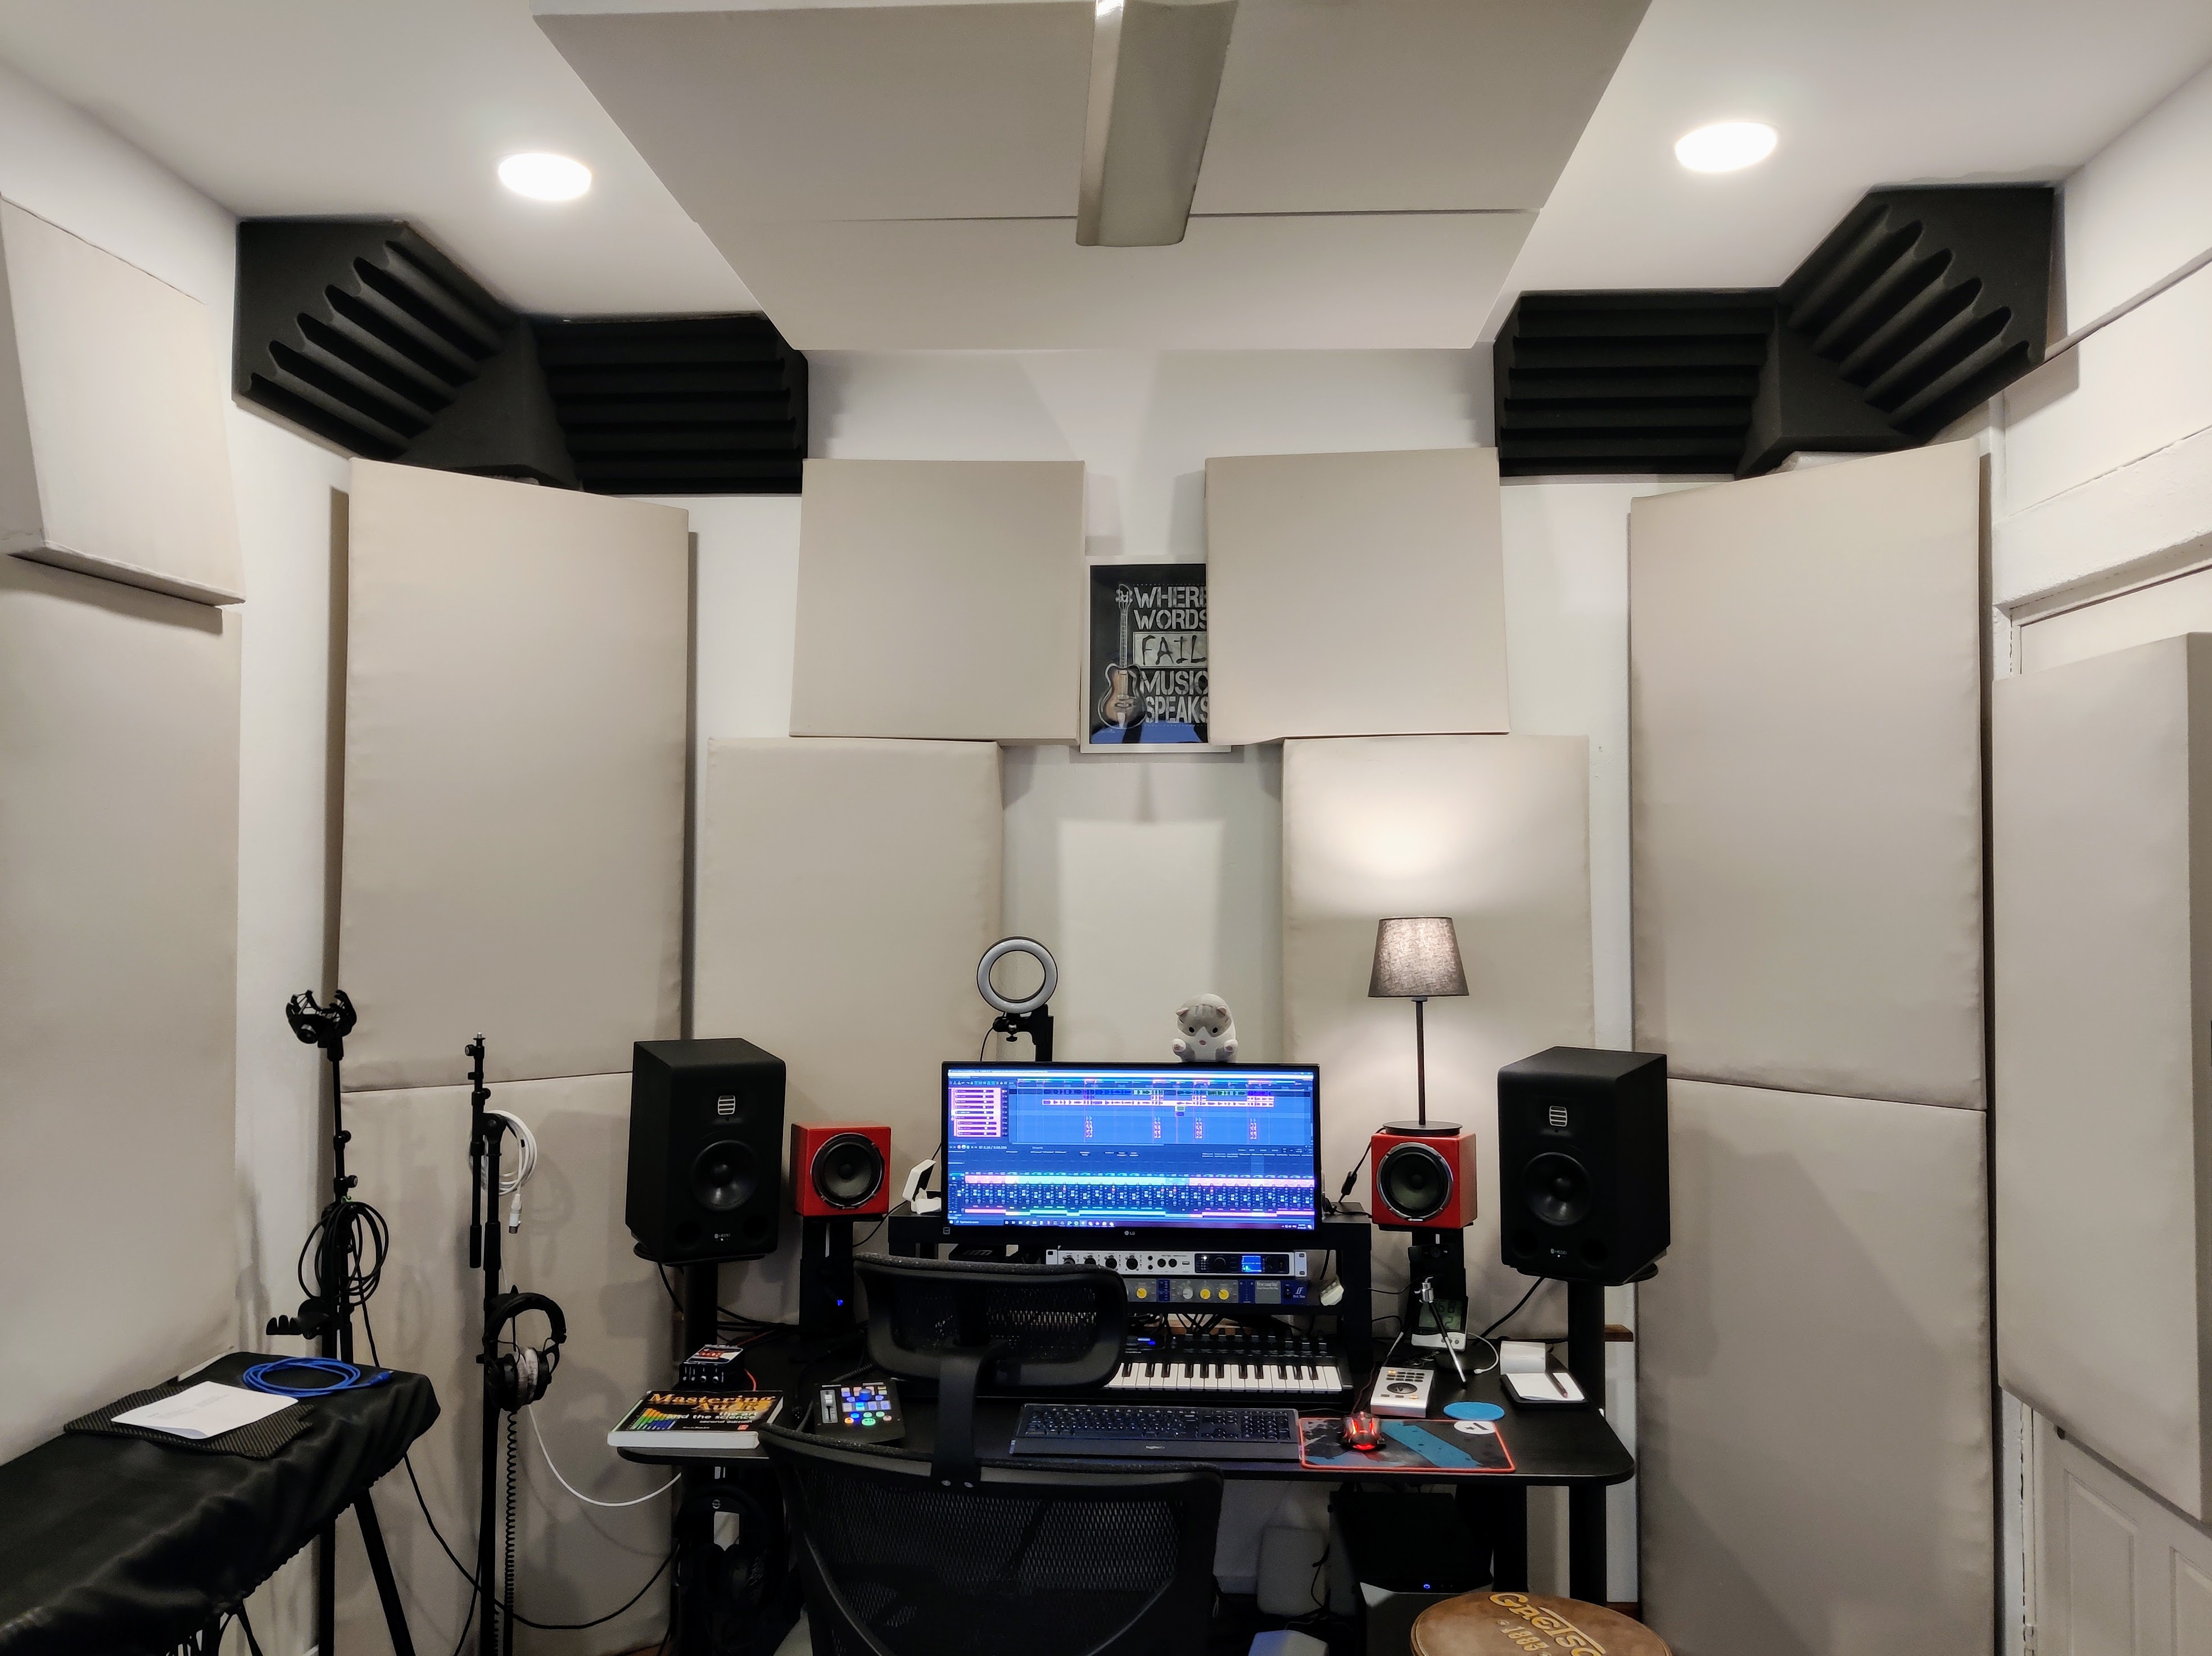
Room after treatment. As I mentioned I haven’t worked it through to the end, ideally I would need diffusion in the back and a bigger cloud but the measurements are good enough for me. I have a project to build a proper studio in a few years when I’m back in my home country.
Waterfall chart AFTER: the room is usable until 30 Hz in the lows with a decent control in the lows and mid-lows. Some comb filtering in the highs, but nothing major.
interesting , looks well done.
two things I noticed, and wonder about.
is it really a big deal if the panels are hung precisely the same location on each facing wall??
obviously helped the bass peaks at 35 and 85hz but the “after” picture showed higher peaks on the higher freq’s , why is that? and was it intentional or just physics?
It is if you’re after the first reflections. Having different surfaces on each side messes with the accuracy of the stereo image.
Yes the peaks are higher but by a very small difference in range. What is more intriguing to me is that the treatment seems to have somewhat amplified comb filtering in the highs. As I mentioned I believe diffusion would help with that. But my ears tell me that it’s already good enough (a lot better than what I’ve been used to!)
Also, the higher you get in frequency, the more variation you get from just tiny movements. So if you move your measurement mic a couple of inches, you might get wildly different measurements in the higher frequencies. There’s not much you can, or should, do about that.
Pretty damned amazing if you ask me. Flattening the low end in a small room is very difficult . What does it sound like if you move your listening position slightly?
I’d have to check the files on my other computer, but off the top of my mind: when I moved the speakers the peaks and hollows shift slightly up or down the frequency range, and some of them flatten or grow.
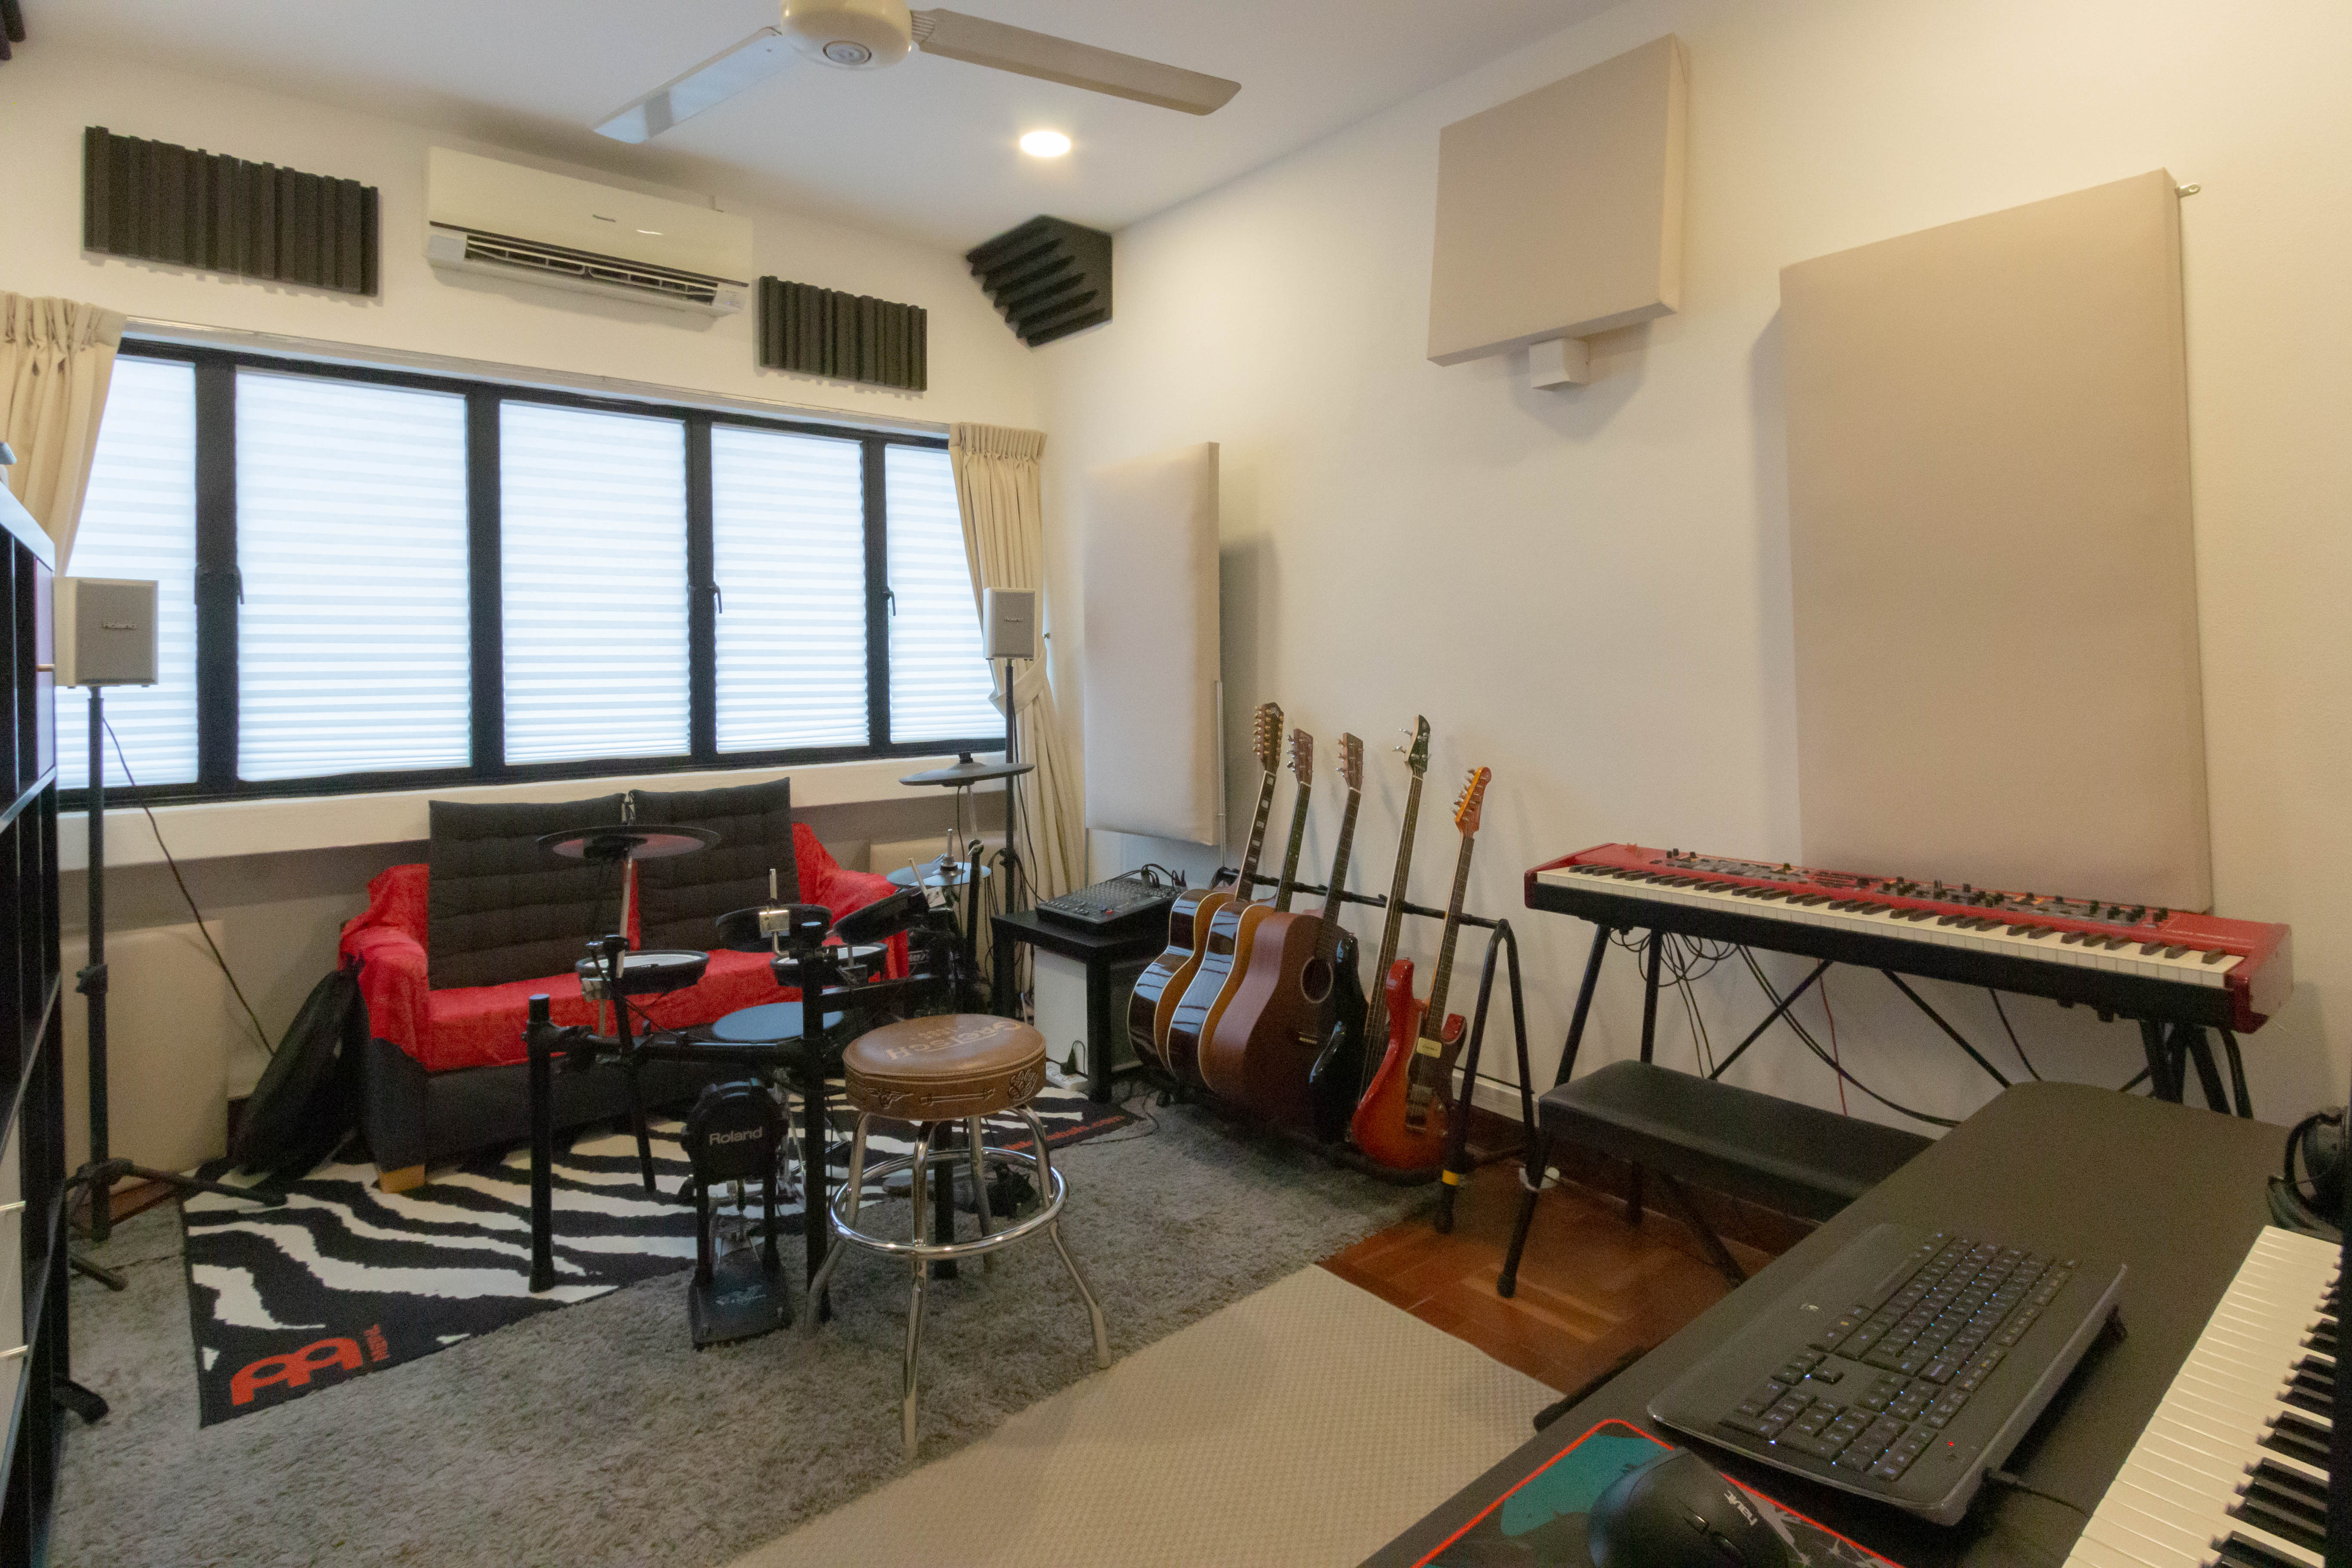
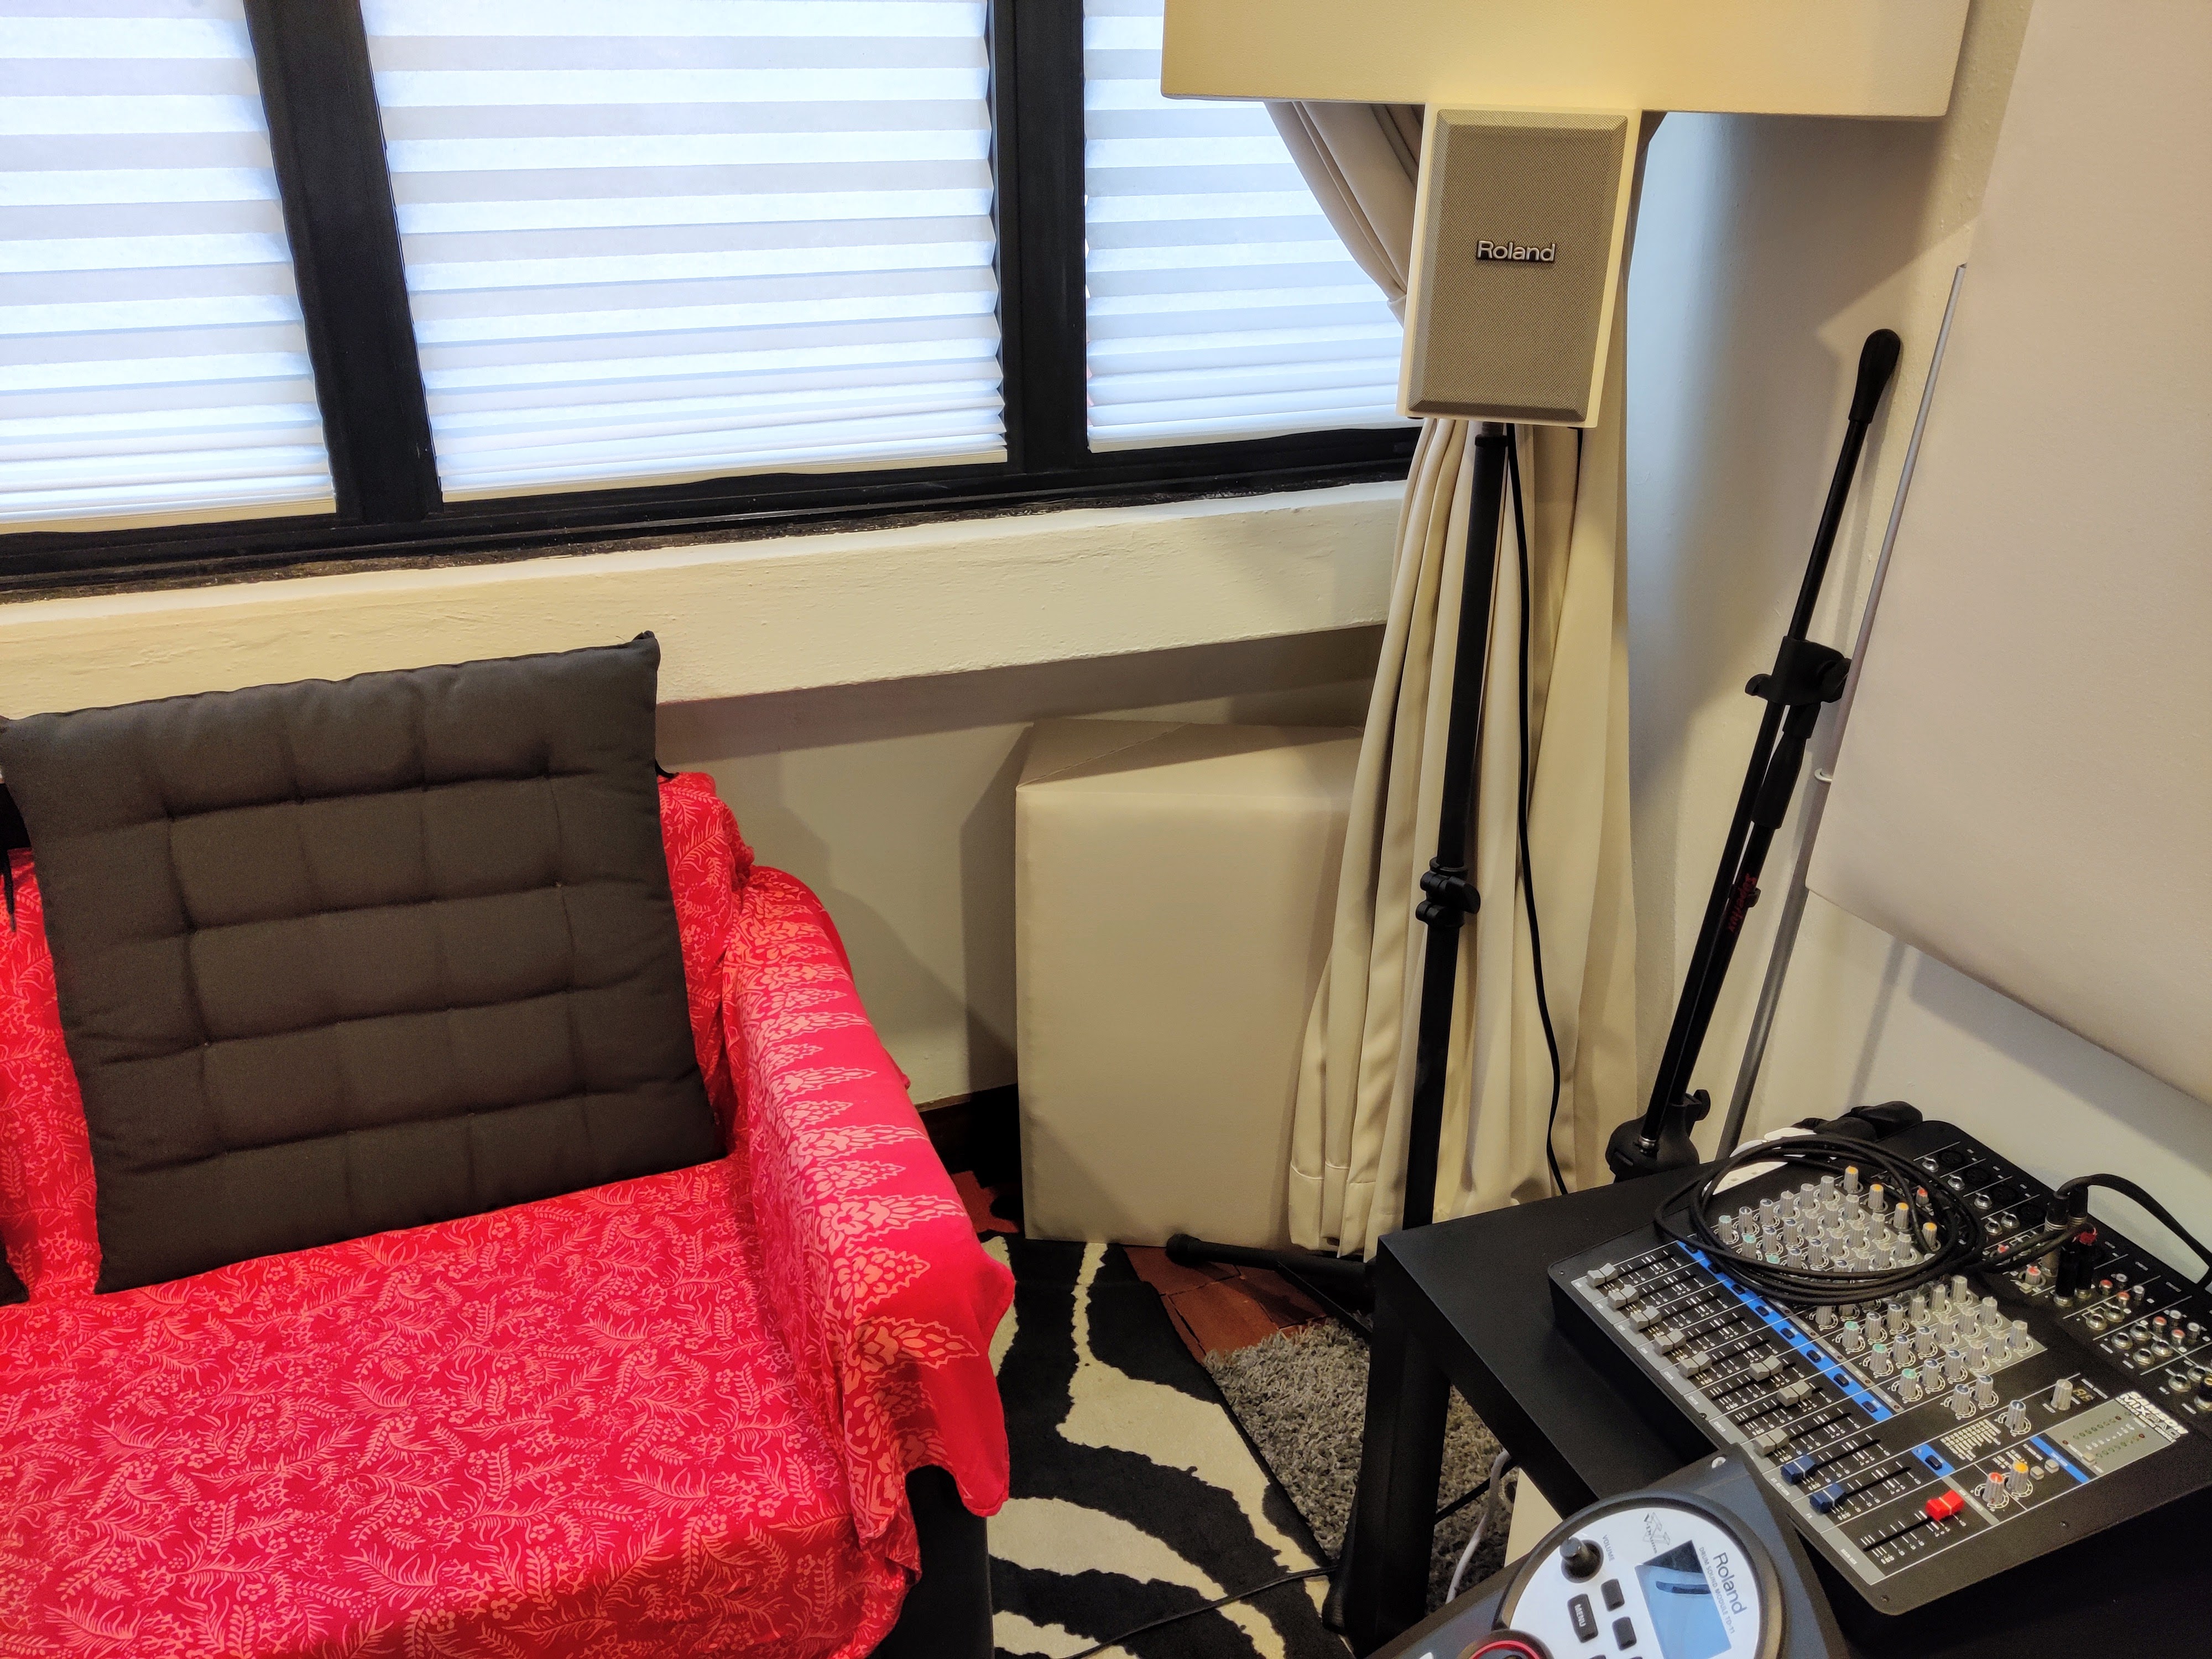
As for moving the listening position itself, there weren’t many options: the room is a rectangle so it had to be at one of two ends, and the other end is highly reflective with all the windows so I chose to leave it behind me. I did cover all the windows with folding, thick paper blinds because I thought it would play a minor diffusion role (only in the highs obviously). More importantly, the windows take all the width so Stuffing the corners with bass traps would have meant obstructing quite a large portion of the windows.
Moving the listening position backwards from where it is now didn’t help. It meant getting closer to the center of the room which, unsurprisingly, resulted in much stronger room nodes.
I’m in a room a touch smaller. It is not treated. Moving about a foot back from my listening spot adds a lot of low end which is gone 6 inches back from there.
It is really goofy enough to make headphones the best alternative, unless I empty the room and treat it properly. Your results are impressive enough to make me consider it.
Small rooms trying to recreate 40hz are problematic, but it looks like you can trust what you hear.
I really focused on the low end because that is the most difficult issue to deal with in small room. It is not only the size that makes it tricky but also the proportions and the shape. This room simulator helps you understand the influence of size and shape on room modes: https://amcoustics.com/tools/amroc (play around with the room size and look at the bolt area).
I was especially happy to get a solid response until around 30 Hz while the untreated room made it virtually impossible to get an accurate idea of what was going on below 50 Hz. Has to change my monitors though, the Yamaha HS7 weren’t going that low anyway.
That’s a great thread, shows a DIY with results. That’s the main thing I see is it improved the low end and there is still going to be your ears, your work approach and all that. Knocked down the peaks and got some low end improvement. Get the sweet zone tweaked in a bit. Id imagine even the control room in Abbey Road has room changes from the center to corners, or near the glass or far away.
Hi…
I enjoyed reading your good article.
I am writing my thesis for a degree
now. May I include your water fall data pictures in my thesis?
Of course, the source will be indicated.
thank you.
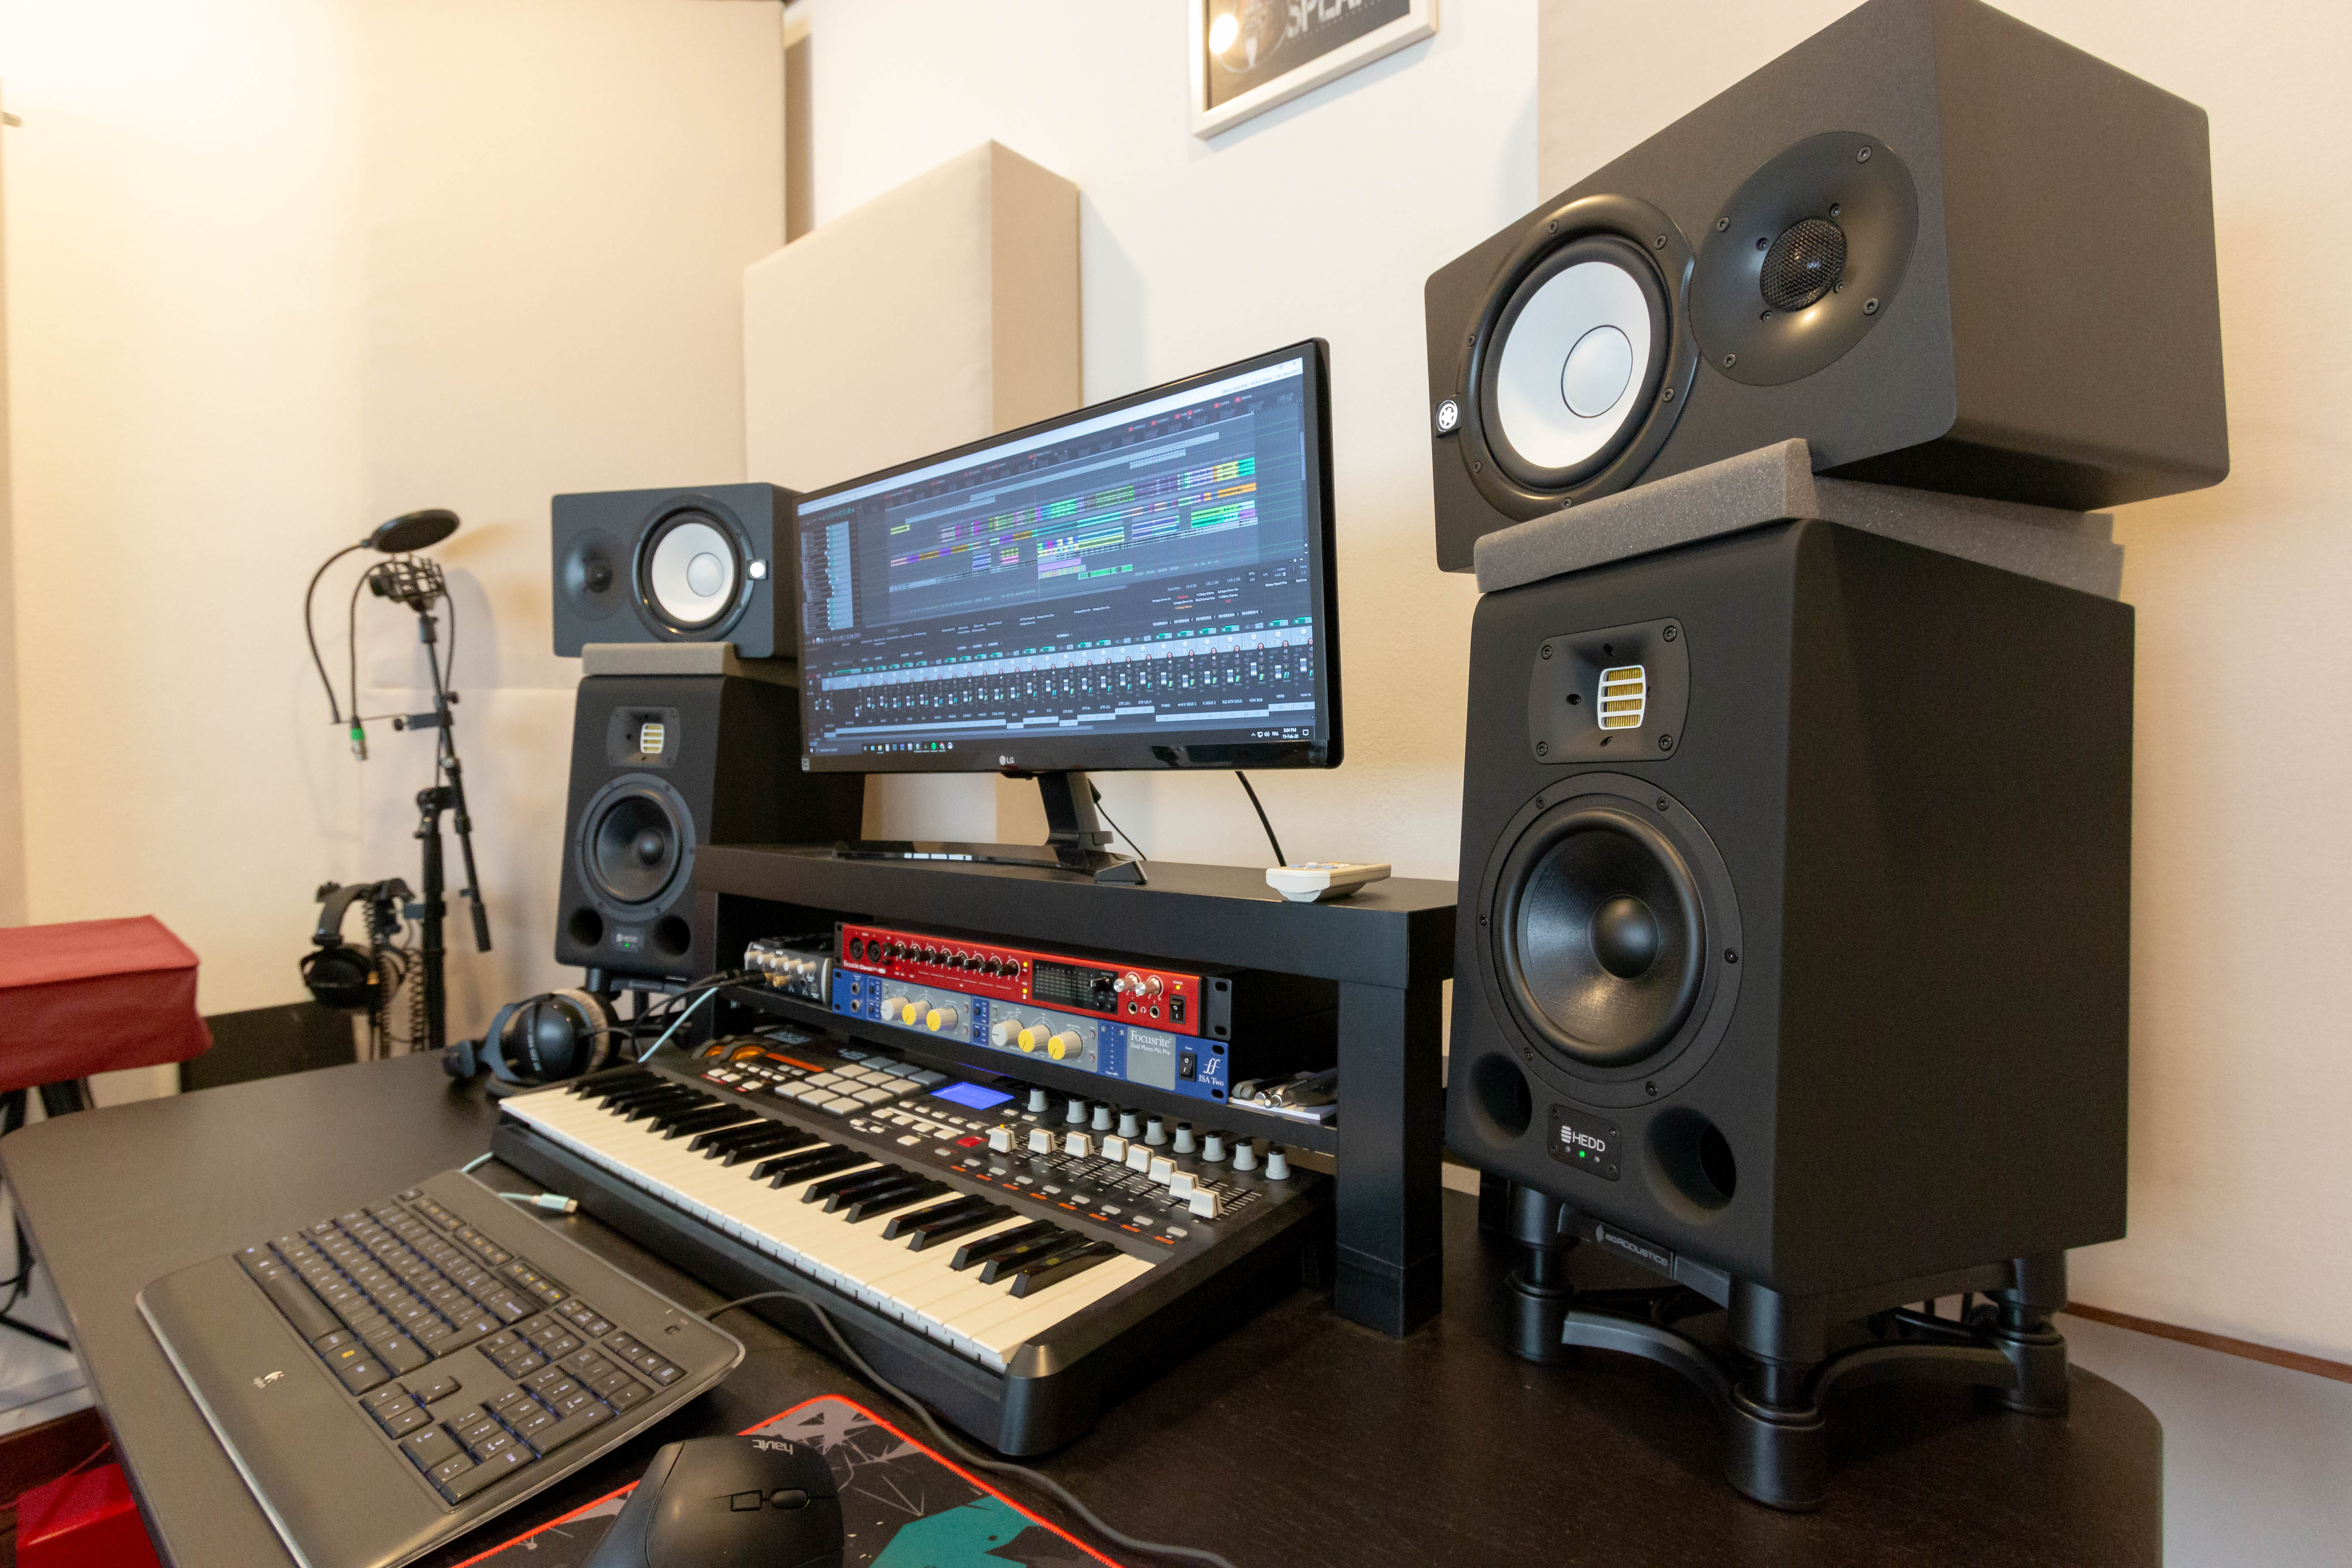
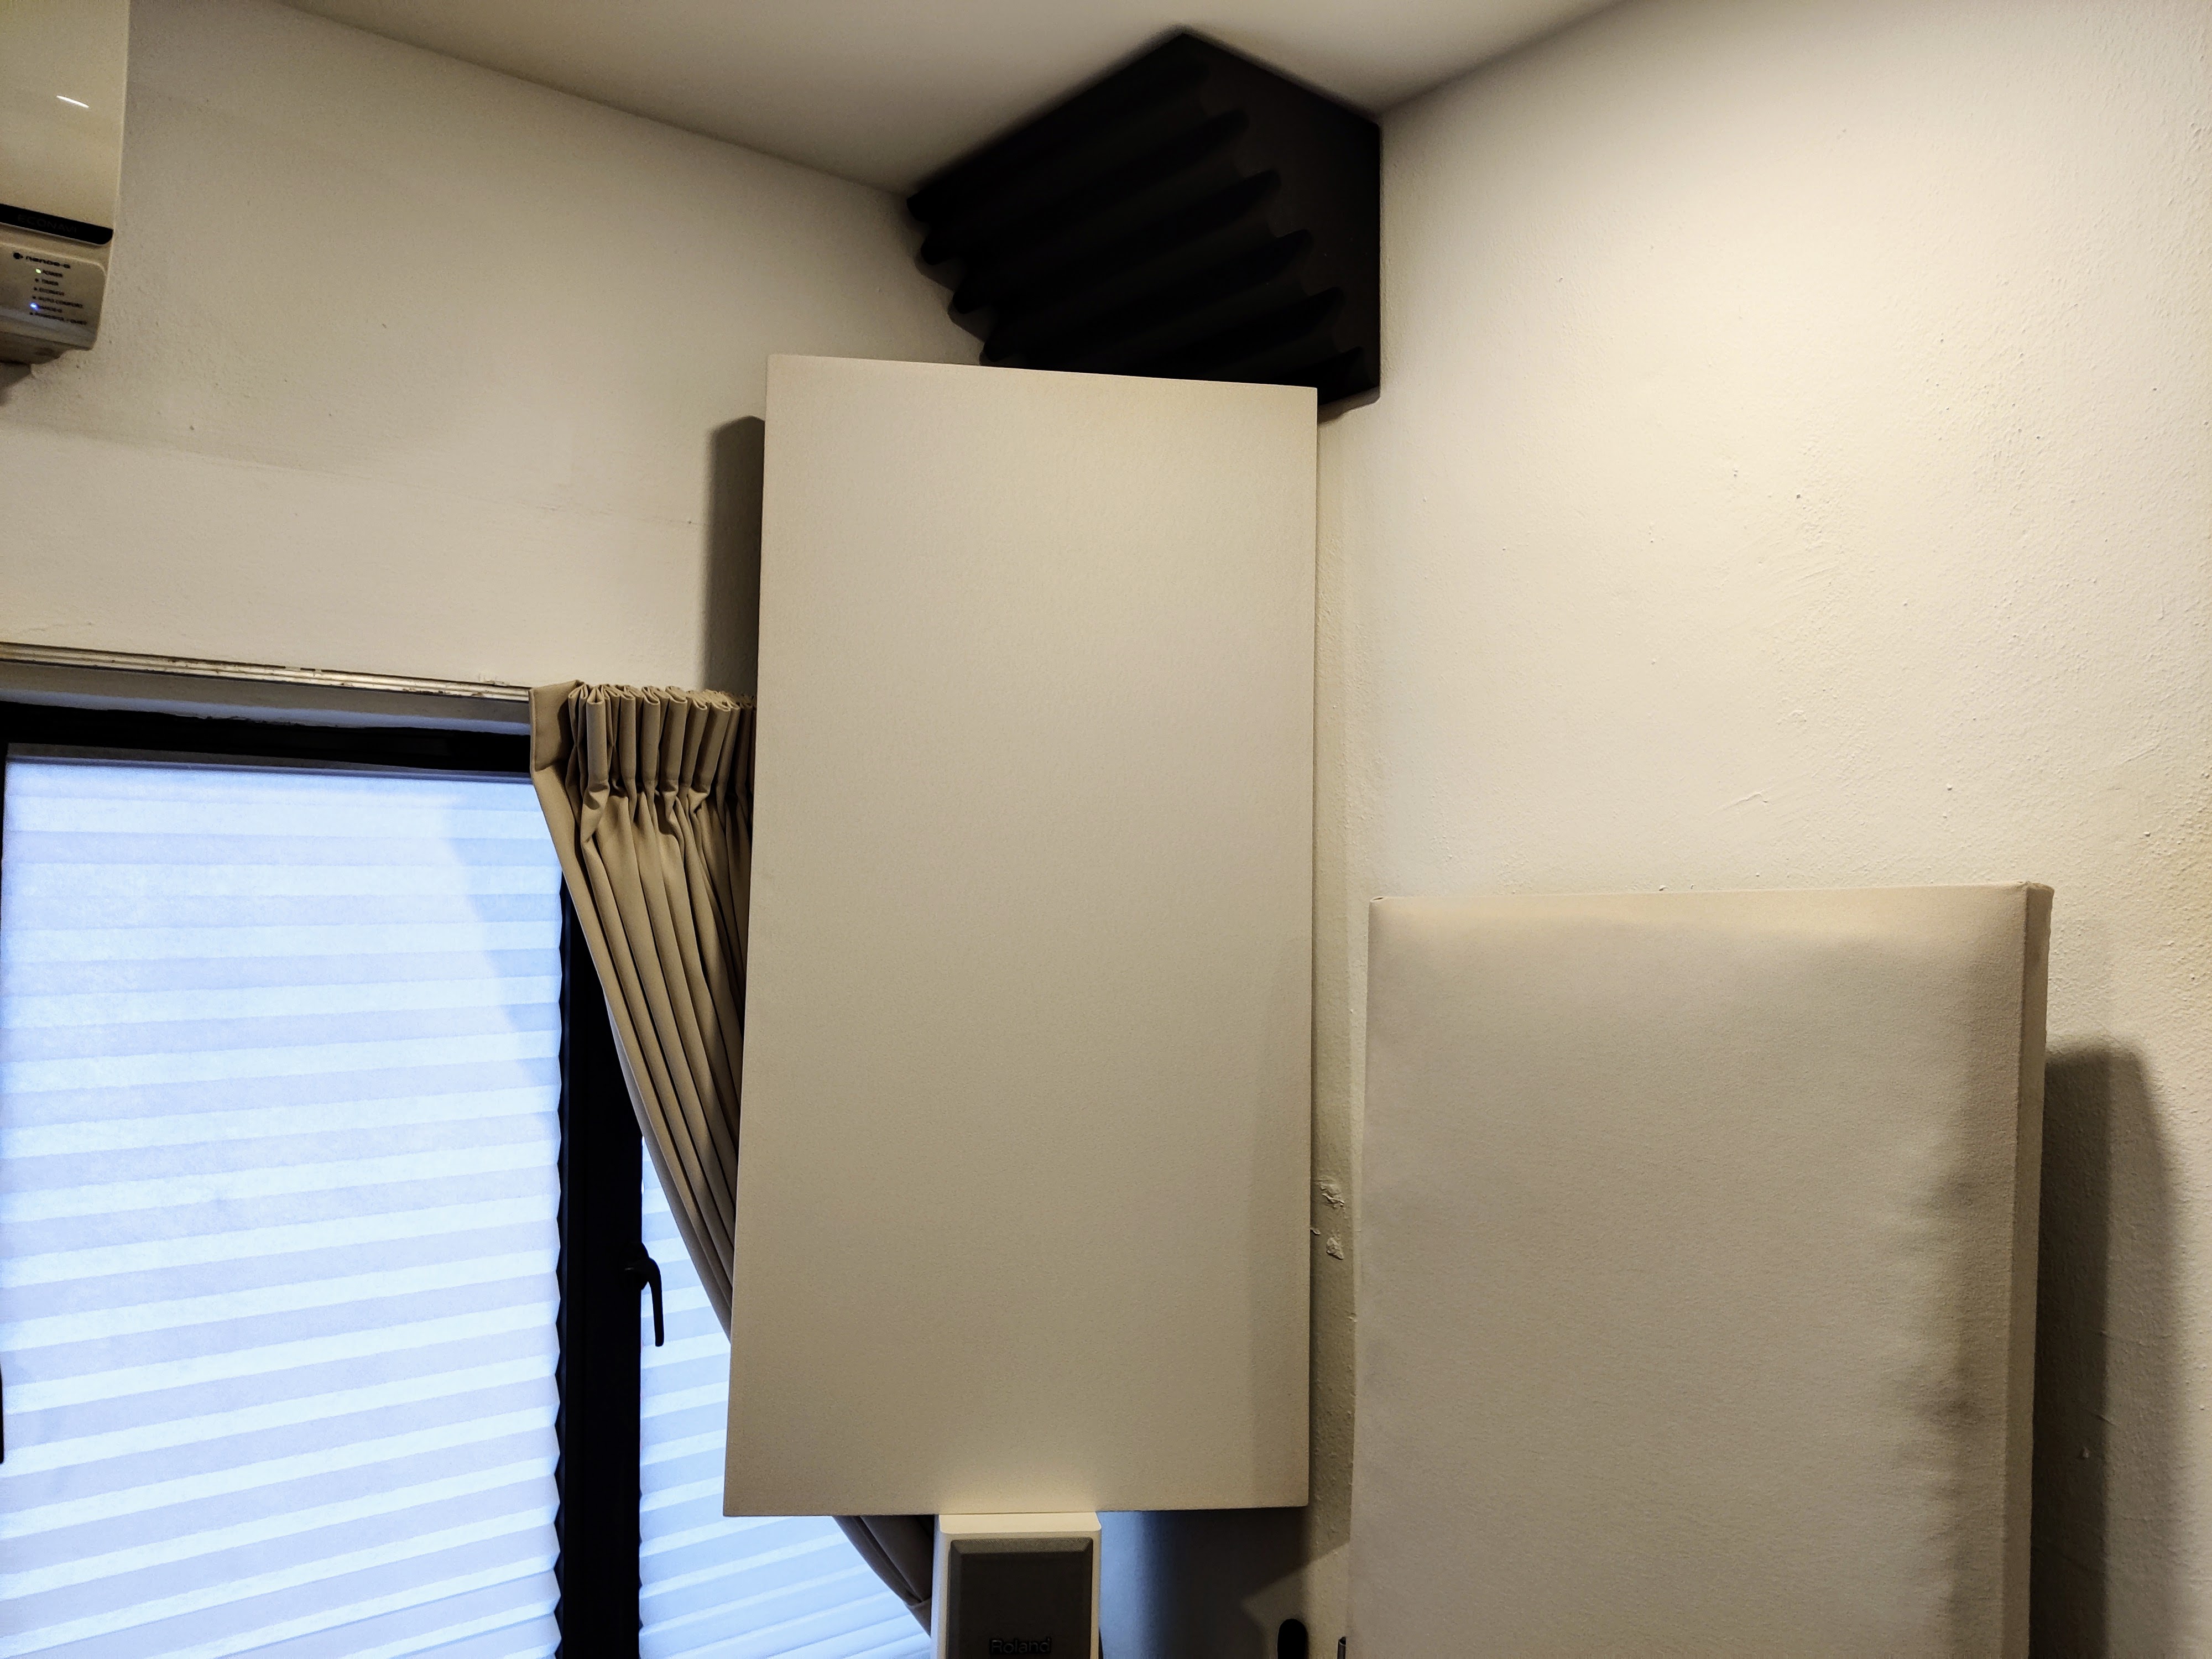
By the way since you’ve unearthed this topic I’ll add a quick update. I have kept on improving the room’s acoustics with more bass trapping and absorption. There is now a total of 20 panels (not counting the foam blocks in the ceiling corners), most of which are 6" (15cm), with air gap around 10-15cm extending their ability in the low end. Some are 10" and the superchunks are 16" in the center. With that much absorption I was concerned about the room becoming too dead at first but it ends up working well for me.
I am using HEDD monitors as my mains, with the built-in linearizer that allows a clean phase response (to the expense of latency, but it can be turned off in one click whenever I need to record using plugins). I also have some EQ correction (IK Multimedia ARC 3), which allows me to get an impressive flat response (+/- 1,5dB) across the full range (35Hz to 20kHz). However, the correction doesn’t allow to fully get rid of time-domain issues (contrary to what IK Multimedia claims). Still it is pretty damn good for a room this size. I have specialized in mastering so I decided to get the best out of this room even though I’ll be leaving the house in less than one year.
Some of the improvements I made shortly after the initial post are:
Added two “cloud” panels
New monitoring (HEDD + Avantone)
Dedicated, weighted stands for the monitors (made a HUGE difference from the ISO acoustics on the desk)
Thanks guys, I did put a lot of effort into the acoustics.
I wouldn’t say that, no. But I rarely have clients over so it’s great for what I’m doing. I do record some clients occasionally, the room stays comfortable with up to 3 persons so I decline anything that involves more than 2 guests at a time.
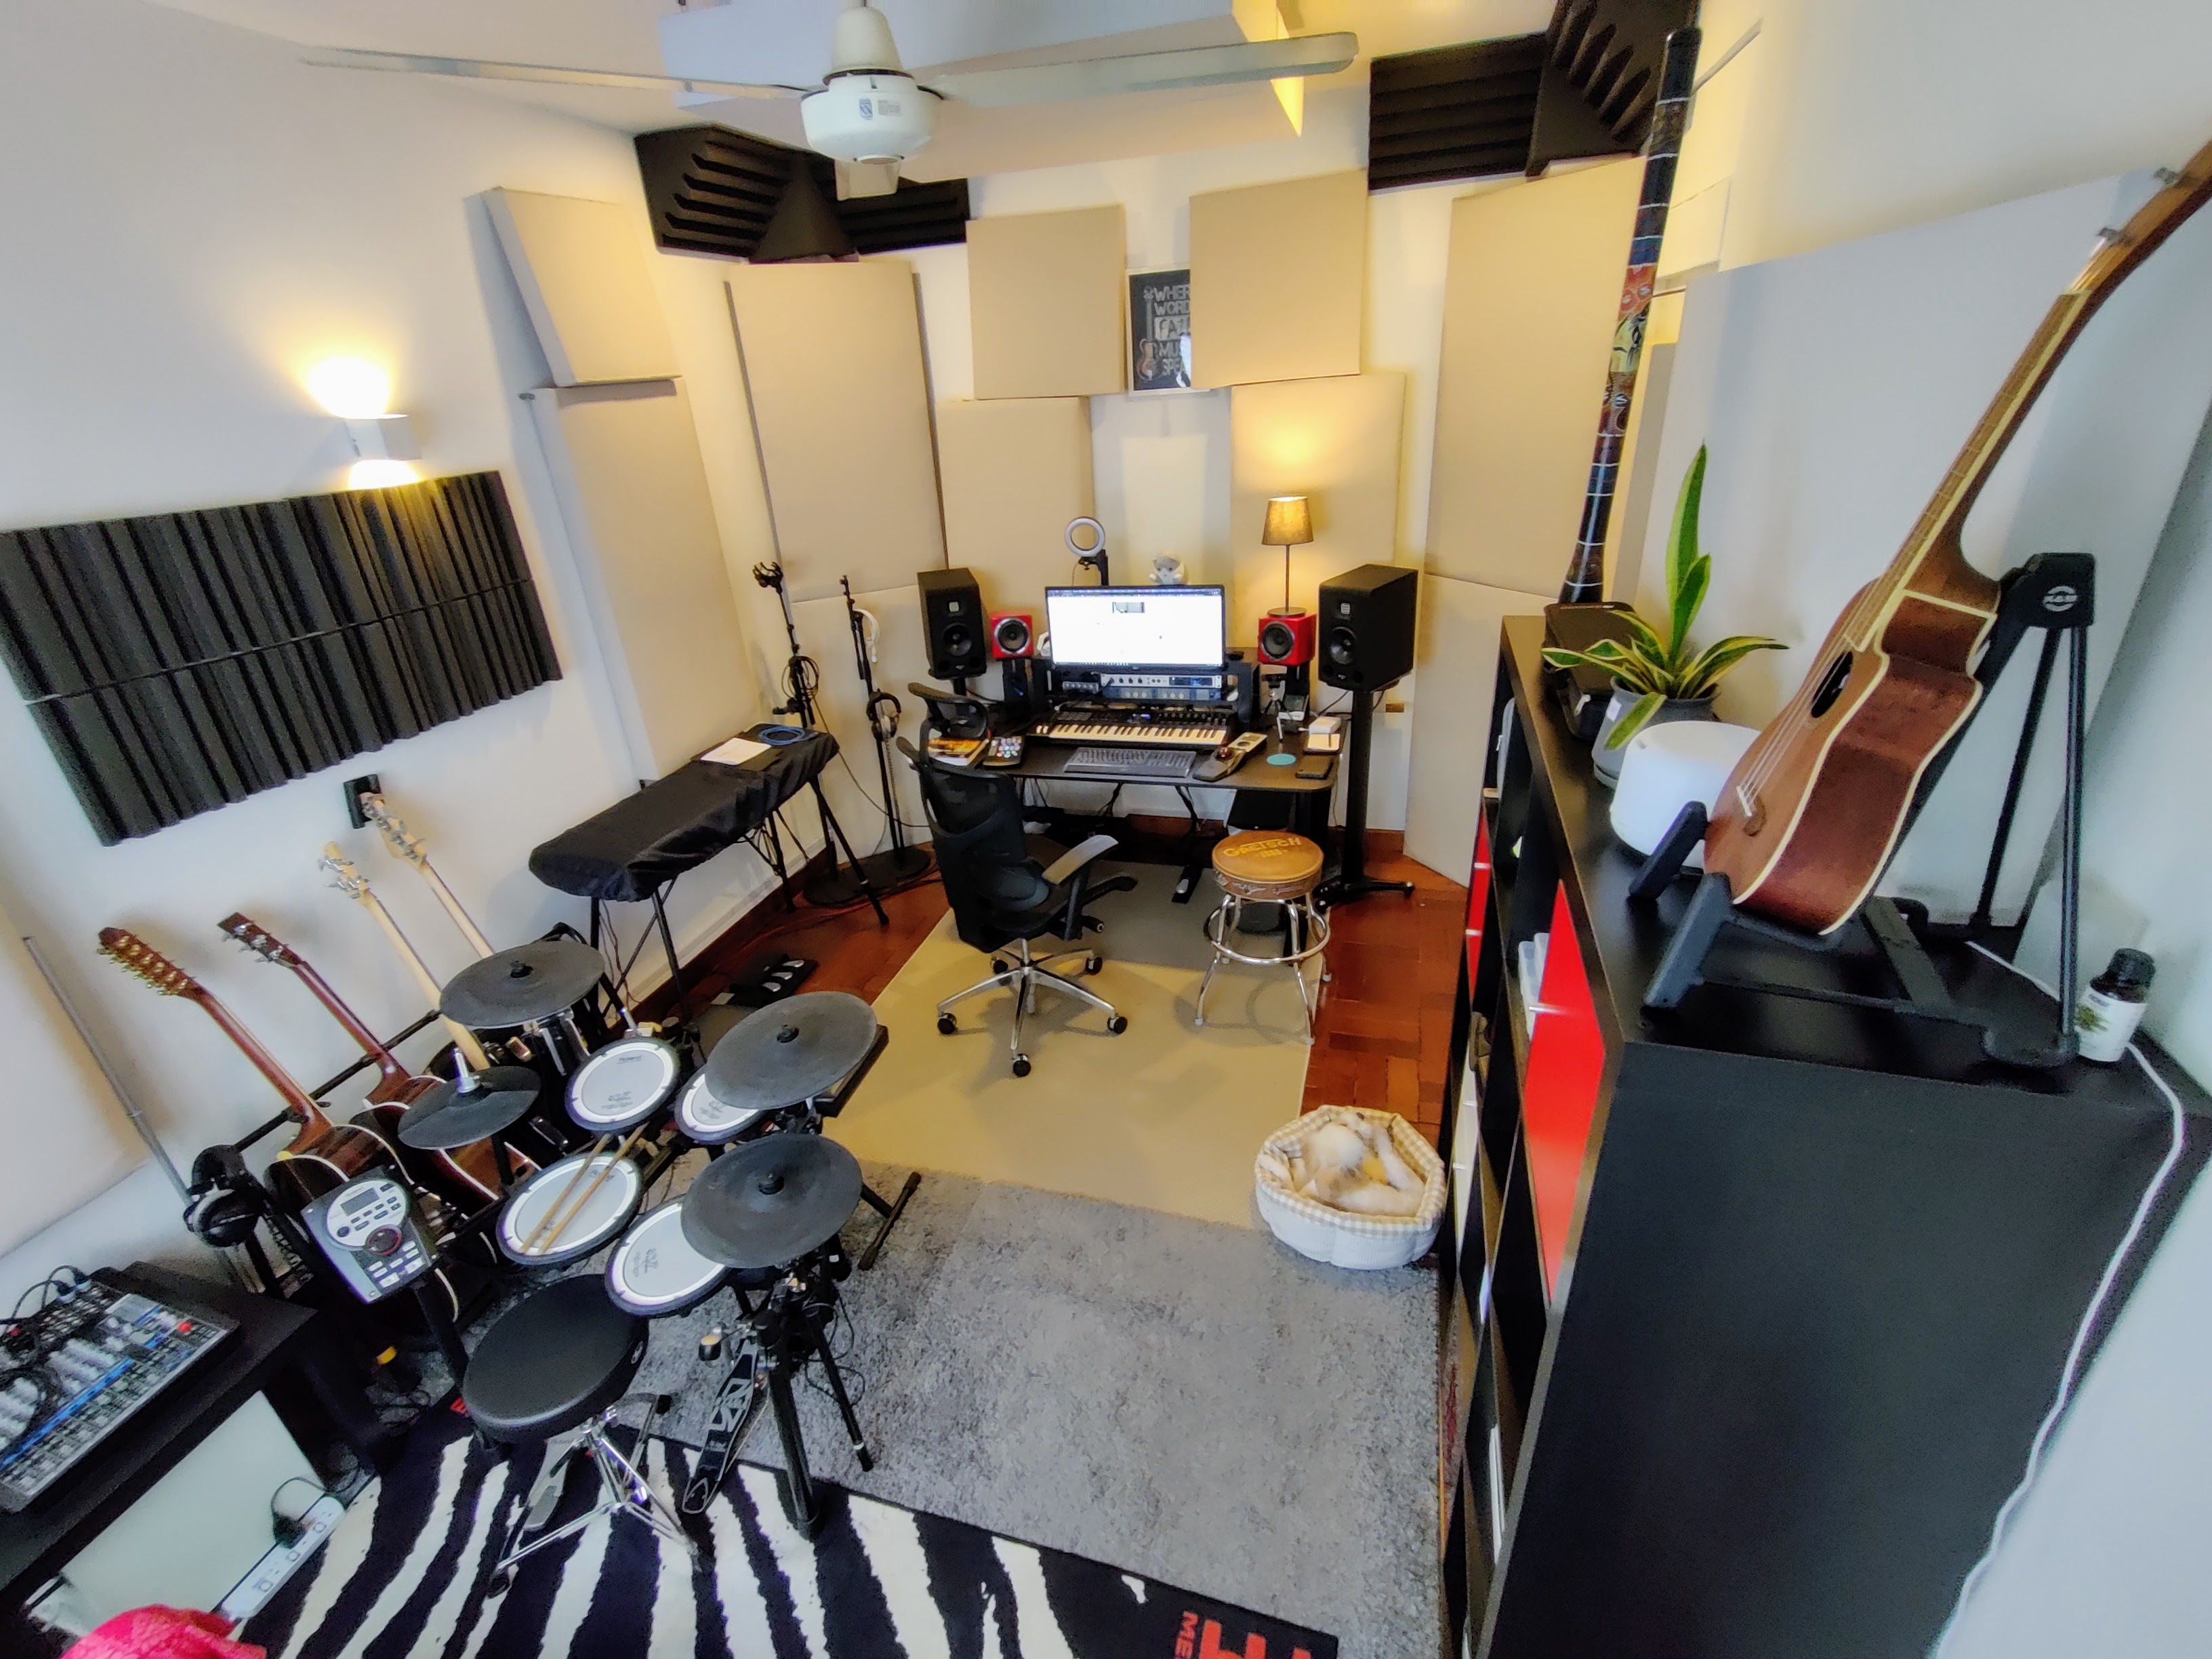
Here’s a wide angle picture to give you a better idea:
I notice in the first pictures of your completed studio you’re just using A textured ribbed square of foam to function as a ceiling cloud. Could you tell me the name of that product and do you know what effect it had specifically on the frequency response? (My ceiling may not be suited for a real heavy mounted cloud). Thanks!
Honestly, it had little effect on the global response. It’s just spare foam I had, and I chose to stick it up there because it would probably be slightly better than nothing, but the small size and lack of thickness made very little difference. I ended up replacing that with two 20cm thick panels.
This ceiling was made of simple drywall sheets so my handyman had to search the supporting beams in order to drill there and make sure the panels could be properly secured.